Last updated November 18, 2026

Free written scope consultation - allowances, timeline, and change-order rules on paper before a single trade is scheduled
Home Additions & ADU Maintenance Schedule: What to Do and When
The flashing at the junction where a new addition roof meets an existing exterior wall is the single highest-probability water intrusion point in any addition – and it needs visual inspection every 12 months, not every five years like the rest of the roof. That one detail explains why additions and accessory dwelling units (ADUs) fail differently than primary homes: the failures happen at the seams between old and new, not in the middle of either. Standard maintenance checklists were written for single-structure houses, so they skip the connections entirely. What follows is the schedule those checklists leave out, built for Arlington homeowners who added a primary suite, a garage conversion, or a detached ADU and now need to know what to do, and when.
Quick Answer
Inspect the roof-to-wall flashing and the expansion joint between structures every 12 months, test ADU GFCI and AFCI breakers monthly, clean gutters twice a year, and change HVAC filters every 60 to 90 days. Keep a dated written record of every inspection, photo, and repair – it is the document that supports insurance claims, resale disclosures, and warranty enforcement on the addition.
Styles & brands we work with
- Kitchen remodeling
- Bathroom remodeling
- Home additions & ADU
- Roofing
- Windows & doors
- Driveway & pavers
- Fence
Table of Contents
- Why Additions and ADUs Need Their Own Schedule
- The Month-by-Month Maintenance Calendar
- The Expansion Joint: What Healthy vs. Failed Looks Like
- Roof-to-Wall Flashing: The 12-Month Inspection
- Separate Utility Service: Breakers, Panels, and Test Protocol
- The Documentation You Keep and Why
- Arlington Conditions That Change the Schedule
- Common Mistakes to Avoid
- When to Call a Professional
- Frequently Asked Questions
Why Additions and ADUs Need Their Own Schedule
An addition shares the house’s foundation, plumbing, and electrical system in most cases, but it does not share the house’s history. The new framing has moved through its own settlement cycle. The new exterior envelope uses a different sheathing and weather-resistive barrier (WRB) – the sheet material behind the siding that stops wind-driven rain – and it ties into the original wall at a transition that no single trade owns. The expansion joint where the two structures meet moves with temperature in a way a single continuous wall never does.
That seam-dependent behavior is the whole point. A 2019 addition on a two-story colonial sits on a footing poured against an older footing that has been in place for decades. Brick and vinyl siding expand at different rates. Roofs framed at two different pitches shed water toward a valley that now has to handle both. None of these are defects – they are physics. The maintenance schedule exists to catch small movement before it becomes a leak or a crack that a future buyer’s inspector will flag.
ADUs add a second layer. A detached ADU or a garage conversion often has its own electrical sub-panel, its own HVAC, and sometimes its own water service. Those systems fail silently when nobody lives in the unit full-time. An empty ADU can run for a month with a ceiling leak undiscovered. In Arlington, where lots on the near-east side and in the older neighborhoods around downtown frequently carry a converted garage or a rear addition built within the last decade, that gap is common.
The work itself – building the addition correctly in the first place – is a different conversation. If you are still in the planning stage, our Home Additions & ADU in Arlington page covers scope, pricing, and permitting. This guide assumes the structure exists and the question is now: how do you keep it sound?
The Month-by-Month Maintenance Calendar
Trying to hold an 18-month maintenance schedule in your head doesn’t work. Calendar-based is what works. The table below separates the two classes of tasks – systems the addition shares with the primary house (HVAC filter, gutters, exterior paint) and systems that exist only because of the addition (expansion joint, flashing detail, ADU sub-panel). Both need attention; only some tasks need the addition in mind.
- January – Test ADU GFCI and AFCI breakers. Check interior ceiling and wall corners on the addition for moisture staining after winter fronts. Photograph any change.
- February – Inspect the expansion joint at grade for sealant cracking. Look at the base of the new exterior wall for weep screed (the drainage notch above the foundation).
- March – Full roof-to-wall flashing inspection from grade with binoculars, then a close inspection on the roof if safe. Note flashing condition, sealant, and step flashing pattern.
- April – First gutter cleaning of the year. Check downspout discharge on the addition side of the house; water must flow away, not pool against the new foundation.
- May – Pre-summer HVAC service. Replace the filter if not on a 60-day cadence. Check attic insulation and ventilation above the addition – added square footage often arrives with lower insulation depth than the rest of the house.
- June – Inspect exterior caulking and paint on the new envelope. Caulk failure at windows and trim is the second-most-common water entry after flashing.
- July – Walk the perimeter of every ADU door threshold. Thresholds on converted garages are notorious for letting in rain because the finished floor is close to grade.
- August – Photograph and document any new cracks at interior wall corners or above doors in the addition. Compare to prior photos.
- September – Second gutter cleaning. Inspect expansion joint again before fall rain.
- October – Test the ADU smoke and carbon monoxide alarms. Check the sub-panel for any tripped breakers that were reset and never diagnosed.
- November – Roof flashing inspection at the junction if you did not do a full inspection in March. Check for leaf accumulation in valleys created by the addition roof.
- December – Annual review: file the year’s photos and receipts. Confirm the written warranty on the addition is current and any warranty items are closed out.
That calendar works whether the addition is a 400-square-foot primary suite or a 750-square-foot detached ADU. What changes with size is the number of systems to inspect, not the structural pattern.
The Expansion Joint: What Healthy vs. Failed Looks Like
The expansion joint is the intentional gap between the new addition and the original structure – usually 3/8 inch to 1/2 inch at the framing, sealed with backer rod and exterior-grade sealant. It exists because the two structures move at different rates. New construction settles, older walls have already settled, and the two want to shift independently. A joint with 1/4 inch of working movement is doing its job. A joint that has been sealed to zero and then cracked 1/8 inch in a single vertical line is telling you the sealant has failed and the two structures are trying to move against each other rigidly.
What a healthy joint looks like:
- Sealant is continuous, flexible when pressed, and adhered on both sides of the gap.
- Visible working movement is small and consistent along the full height – no abrupt change in gap width.
- No bubbling, no hardening, no backer rod visible through the sealant.
- No rust-colored staining below the joint on either wall.
What a failed joint looks like:
- Sealant cracked in a straight line or receded from one side of the joint (adhesion failure).
- Paint or caulk pulling in a stair-step pattern along the joint line.
- Diagonal cracking radiating away from the joint into either wall – the joint is binding.
- Visible movement greater than roughly 1/2 inch without a designed joint system in place.
In Arlington, where summer-to-winter temperature swings routinely exceed 50 degrees Fahrenheit, sealant at the joint hardens faster than in coastal climates. White polyurethane sealants that stretch well at 70 degrees can turn brittle by July. We’ve seen joints in Arlington that needed re-sealing at the 18-month mark because the original installer used an acrylic rather than a polyurethane product. Structural movement past 1/2 inch, or repeating diagonal cracks, is not a re-seal – it is an engineering question.
Roof-to-Wall Flashing: The 12-Month Inspection
Every point where the addition roof dies into an existing wall needs step flashing – individual L-shaped metal pieces woven under each shingle course and lapped against the wall siding – plus counter-flashing cut into the siding itself. A correctly installed detail is a continuous metal registration that sheds water off the wall, with no exposed caulk as the primary water barrier. Caulk is the backstop, not the wall.
What you can see from grade, without getting on the roof:
- Look up at the junction line where the addition roof meets the main wall. Is there a straight metal line visible, or does the roof material meet siding directly?
- Check the siding immediately below the junction for rust streaks, discoloration, or softness – three indications water has already found the path.
- Check the soffit (the underside panel of the eave) near the junction for staining or sag.
- Look at any dormer or wall penetration on the addition for the same pattern.
What to look for once on the roof, if you are comfortable and it is dry: step flashing should be present at every shingle course along the wall, lapped at least 4 inches above the roof surface. Counter-flashing should run behind the siding and over the top of the step flashing. Sealant should be visible only at the vertical termination, not as a full coating over the metal. If any shingle course has been removed and not re-woven, or if tiles overlap the flashing instead of under it, water enters through cap-illary action – the wicking of water uphill between tight surfaces – and quietly rots the wall sheathing before you see a stain.
We inspect this junction every 12 months because it is the highest-probability water entry point in the entire addition. The rest of the roof can go 3 to 5 years between inspections. This junction cannot. In Arlington, the summer storm cycle of brief heavy downpours puts a lot of water through that junction in a short window, and the first place it shows is usually a soft spot in the sheetrock on the interior wall.
Separate Utility Service: Breakers, Panels, and Test Protocol
A detached ADU or a garage conversion often gets its own sub-panel, and sometimes its own meter. If the ADU was wired with a separate service, the maintenance routine differs from the primary house. The sub-panel needs the same attention a main panel does, plus a habit of checking it between visits – an ADU with a renter or a family member closes breakers when they trip and nobody investigates why.
The test protocol:
- Monthly: press the TEST button on every GFCI outlet in the ADU. The outlet should trip instantly and reset when the RESET button is pressed. A GFCI that does not trip on test is doing nothing – replace it.
- Monthly: press the TEST button on every AFCI breaker (recognizable by its own test button on the breaker face). Same result expected: instant trip, clean reset.
- Every 6 months: visually inspect the sub-panel interior for scorch marks, discolored breakers, or a smell of hot plastic. Do not touch any terminal.
- Annually: confirm that the ADU sub-panel label is current – every breaker accounted for and correctly listed. An unlabeled panel is a liability when someone else has to work on it.
- Annually: verify the ground rod or grounding electrode connection at the meter, if the ADU has its own service. Corrosion at the ground clamp is a code issue and a safety issue.
Electrical panels, meters, and service conductors carry lethal voltage. Testing the breaker from the outside of the panel face is safe; opening the panel cover is not a homeowner task. A licensed electrician is the right person to open the cover, and if a breaker has tripped, been reset, and tripped again without a diagnosed cause, stop resetting it. The breaker is protecting something.
If a garage conversion was done without permitting – and in some Arlington neighborhoods that happened before the current permitting standard – the panel may have real problems that no schedule fixes. That is a scope conversation, not a maintenance one.
The Documentation You Keep and Why
The maintenance schedule does its work even when nothing goes wrong – because the record it generates is the evidence that matters at four moments: an insurance claim, a resale disclosure, a warranty claim on the addition, and a contractor’s diagnosis when something does go wrong.
Keep these records:
- Dated photographs of the roof-to-wall flashing, expansion joint, and ADU sub-panel label. A photo of the flashing every 12 months is the single most useful document you will own if a leak claim is ever disputed.
- Receipts for every sealant, filter, and part, with the product name and date. An insurer evaluating a claim wants to know what maintenance was performed and when.
- The written warranty on the addition, with any closed-out warranty items attached. If the original builder promised a workmanship warranty, enforce it in writing and keep the response.
- Professional inspection reports with photographs and findings. Our written documentation standard is to hand the customer a photo record on every visit – that record becomes part of your file.
- Service records for the ADU HVAC and any separate meter. If the ADU is rented, the tenant’s service tickets belong in the file too.
At resale, buyers and their inspectors will ask about the addition. A clean file with photos of the flashing detail, the expansion joint at 6 and 18 months, and the annual panel inspection turns a soft spot in the disclosure into a documented positive. A missing file makes the inspector’s findings ambiguous, and ambiguous findings get priced into the offer.
Arlington Conditions That Change the Schedule
Arlington’s climate compresses certain intervals. The North Texas pattern of a wet spring, a very hot summer, and occasional freezes in January and February is not the climate that most generic maintenance guides assume. Three adjustments matter here.
Foundation movement. Arlington sits on expansive clay soils that swell in wet cycles and shrink in dry ones. That movement translates directly to the expansion joint. A joint that is fine in March may show stress in September after a dry summer. The 12-month inspection cadence is a floor, not a ceiling – spring and fall checks of the joint are worth the ten minutes.
Hail. The April-June hail window is the reason for the March flashing inspection before storm season and a post-storm walk of every downspout and gutter in June. Hail damages flashing crimps and exposed sealant faster than it damages the shingles.
Wind. Arlington sits in a wind zone that can lift ridge caps and drive rain horizontally against the addition’s new walls. That horizontal rain is why the weather-resistive barrier under the siding matters, and why caulk failure at window frames is a genuine concern rather than a cosmetic one.
ADUs on narrower lots, which Arlington’s zoning update expanded in the last few years, often channel water between structures. If your ADU roof drains into a shared side yard, watch that side yard’s grade and foundation bedding more closely than the front.
Common Mistakes to Avoid
- Treating the addition as part of the house for maintenance purposes. The primary house and the addition share some systems but not the seam-specific ones. A maintenance plan that lists “roof inspection every 3 years” and no flashing detail is missing the highest-risk item.
- Sealing the expansion joint with caulk alone. The joint needs a backer rod and a flexible sealant rated for exterior movement. Acrylic caulk is the reason joints in Arlington fail at 18 months.
- Letting the ADU go dark without a walk-through. An empty or rarely-occupied ADU hides ceiling leaks. Walk it every month and look up at the ceiling plane.
- Resetting a tripped breaker twice without diagnosis. A breaker that trips repeatedly is protecting you. Have a licensed electrician look at it.
- Not photographing the flashing at installation. Photos taken once the addition is complete catch future changes. If you have an unfinished project, ask for photo documentation of the flashing before the siding goes up.
- Skipping the resale-disclosure documentation. A file with dated records is the difference between a clean disclosure and a buyer’s inspection finding.
- Ignoring the ADU’s separate grading. Downspouts on the ADU need to discharge at least 4 to 6 feet from the foundation, same as the house. On tight Arlington lots, that often needs a splash block or a run-out extension.
When to Call a Professional
Four situations need a professional in the first call, not the second.
First, if the expansion joint shows movement past roughly 1/2 inch, diagonal cracking radiating from it, or a change in gap width over a few weeks – that is a structural question, not a sealant question.
Second, if the flashing detail is exposed, missing, or was installed with sealant as the primary barrier. Roofing at height is a genuine fall hazard, and re-flashing a roof-to-wall junction correctly requires removing shingle courses, not patching over them.
Third, if a breaker in the ADU sub-panel trips more than once, or if the sub-panel shows scorching or heat discoloration. Electrical service work belongs to a licensed electrician.
Fourth, if any interior wall in the addition shows new staining or soft drywall after a heavy rain. Water intrusion at the flashing detail can be found and corrected while the damage is small, but the wall sheathing and framing are what’s at stake if it’s missed.
Rowan Construction Group Arlington offers free estimates in Arlington on addition, ADU, and roof-flashing work, and a free second opinion on any written estimate you have on hand. Call (844) 761-7521 to schedule. Every visit includes a written price before any work starts and a documented photo record when the crew leaves.
Frequently Asked Questions
Every 12 months, not every 3 to 5 years like the rest of the roof. The junction where the addition roof meets the existing wall is the highest-probability water intrusion point on the entire structure, so it warrants a visual check every year. Schedule it in March before storm season and again after a hail event if the roof has been hit.
A healthy joint has continuous flexible sealant adhered on both sides, working movement under about 1/2 inch, and no staining or diagonal cracking into either wall. A failed joint shows sealant cracked in a straight line or receded from one side, paint pulling in a stair-step pattern, or diagonal cracks radiating from the joint. Movement past 1/2 inch or repeating diagonal cracks are a structural signal that warrants a professional assessment.
Monthly. Press the TEST button on every GFCI outlet and every AFCI breaker in the ADU and confirm the reset is clean. A GFCI or AFCI that does not trip when tested is not protecting anyone, and in a rarely-occupied ADU it can go un-noticed for months. Call (844) 761-7521 if you would like an electrician to inspect a panel that is tripping or unlabeled.
Yes, for the electrical side. A separate service adds panel inspection, breaker testing, and grounding verification that a shared service does not require. The interior finish, HVAC, and envelope maintenance follows the same schedule as the addition. Keep panel records in the same file as your roofing and expansion joint photos.
Yes, directly. Buyers and their inspectors ask about any addition. A file with dated photos of the flashing, expansion joint inspections, and panel labels turns a potential soft spot in the disclosure into a documented positive. Missing records make an inspector’s ambiguous findings get priced into the offer.
The same schedule as an occupied ADU, plus a monthly interior walk-through to look for ceiling staining or soft drywall that a resident would catch early. Run the HVAC system periodically – a unit that sits idle for months develops problems quietly. Call (844) 761-7521 for a maintenance inspection, and we will provide a written report with a documented photo record.
The Bottom Line

The maintenance schedule that protects an addition or ADU is the standard home schedule plus three addition-specific systems: the roof-to-wall flashing inspection every 12 months, the expansion joint inspection twice a year with a sealant product rated for exterior movement, and the ADU electrical protocol if the unit has a separate service. Everything else – gutters, HVAC filters, caulk, paint – follows the same routine as the primary house, with Arlington’s clay soils and hail season compressing the intervals slightly. Keep the photos, keep the receipts, keep the written warranty. The record is not paperwork; it is the thing that protects the value of the addition, at an insurance desk, at a resale table, and when you call a contractor to make it right.
Call (844) 761-7521 for a free estimate on any addition or ADU maintenance, roofing, or electrical work in Arlington. Written price before any work starts. Documented photo record on every visit. Background-checked, uniformed technicians, and a live person answering the phone 24/7.
Written by the team at Rowan Construction Group Arlington.
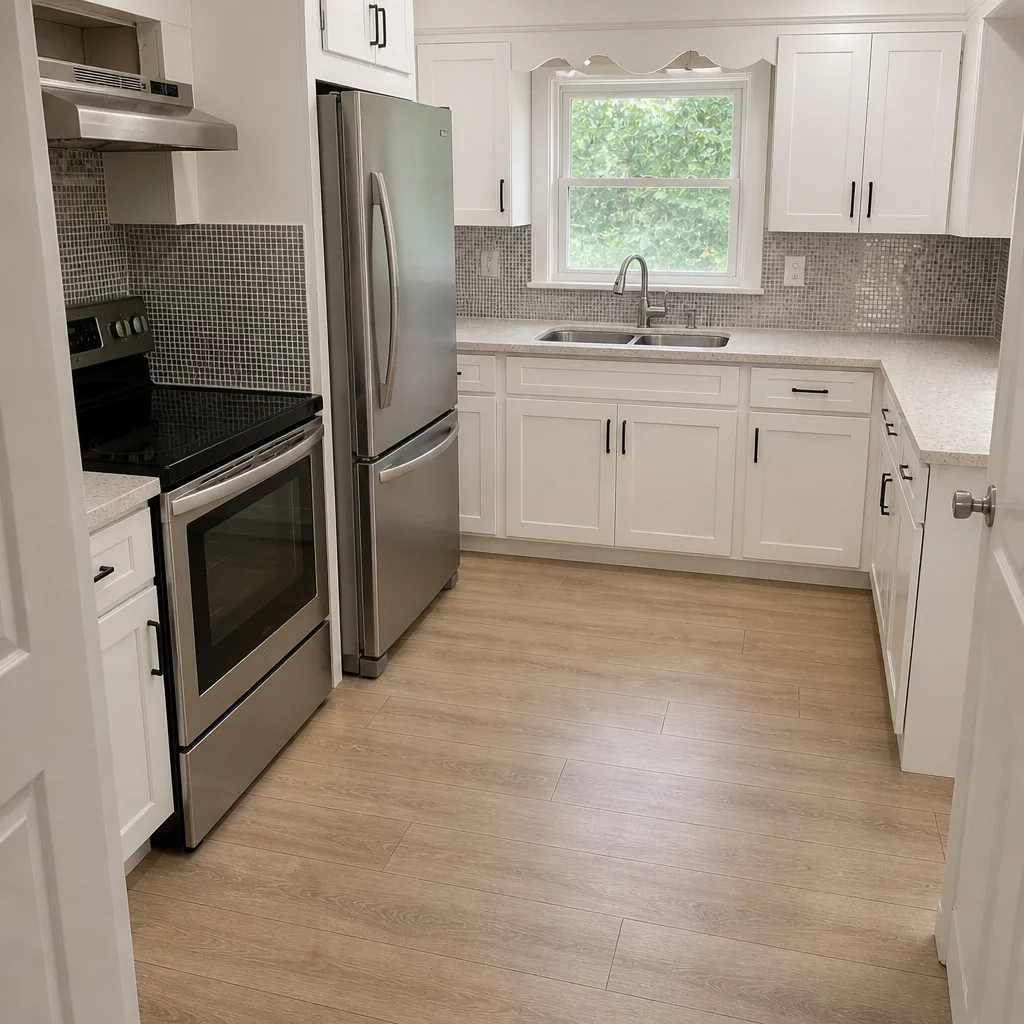
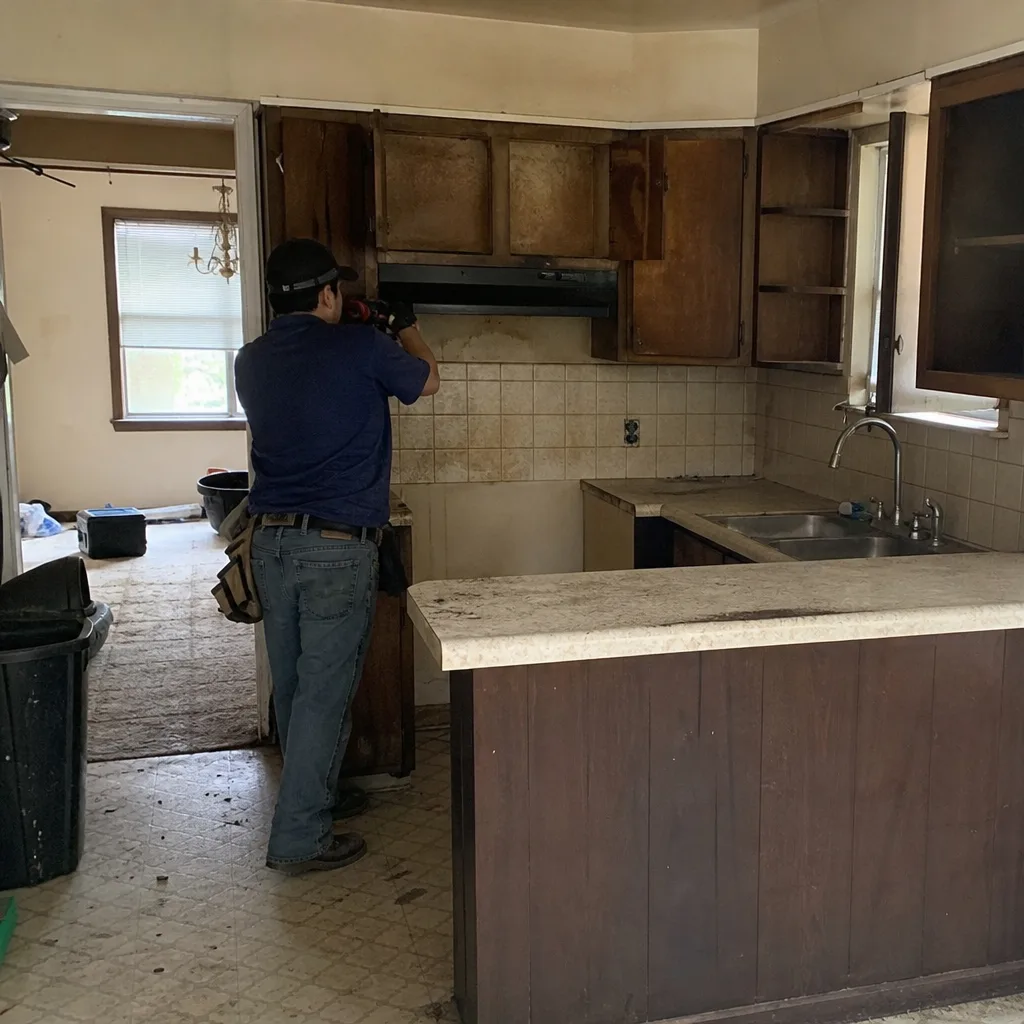
See the difference
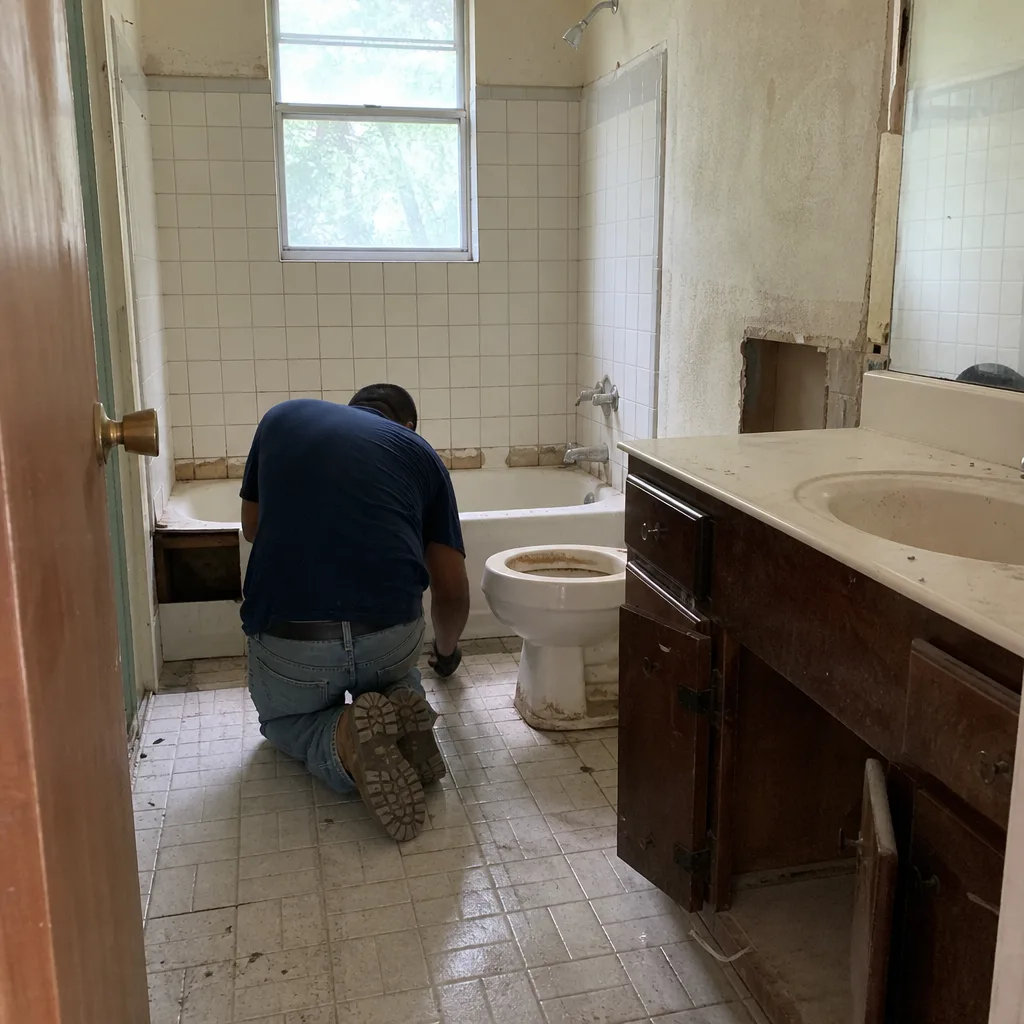 Before
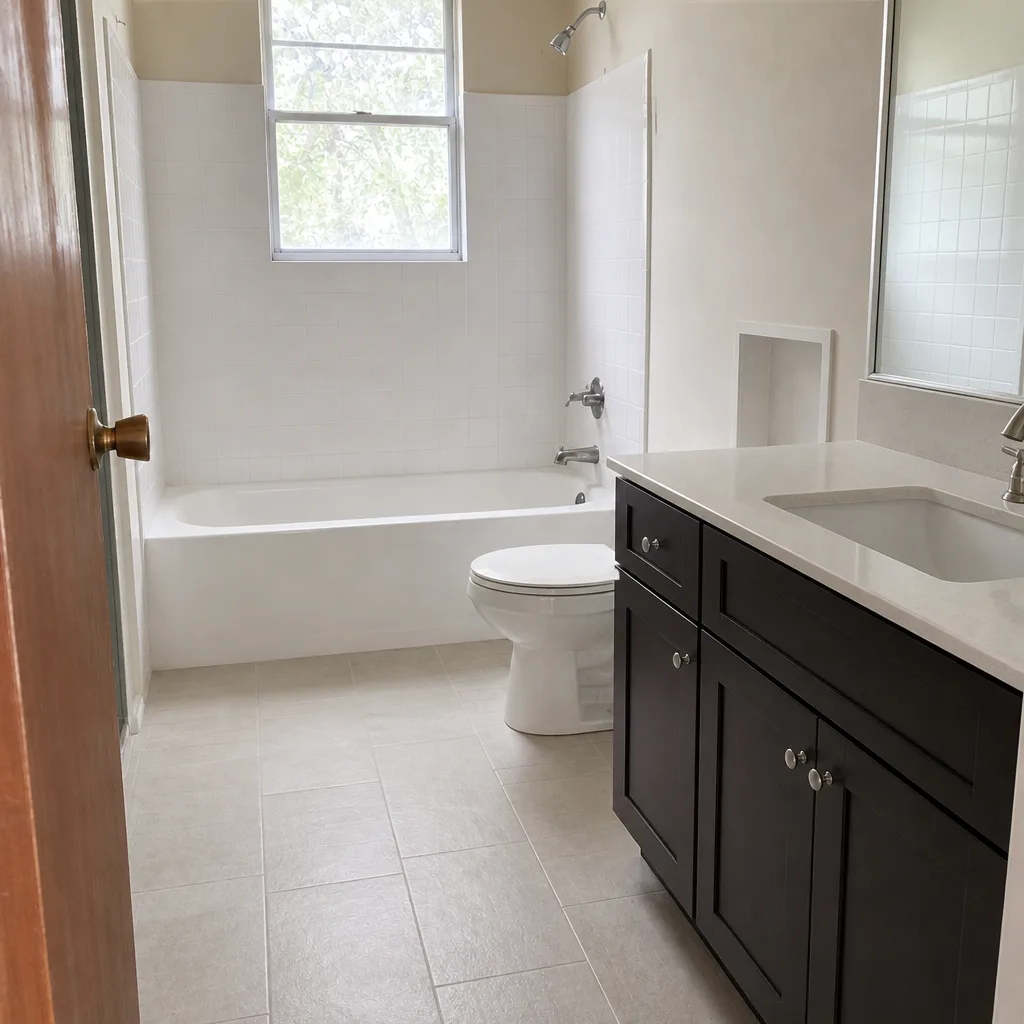 After
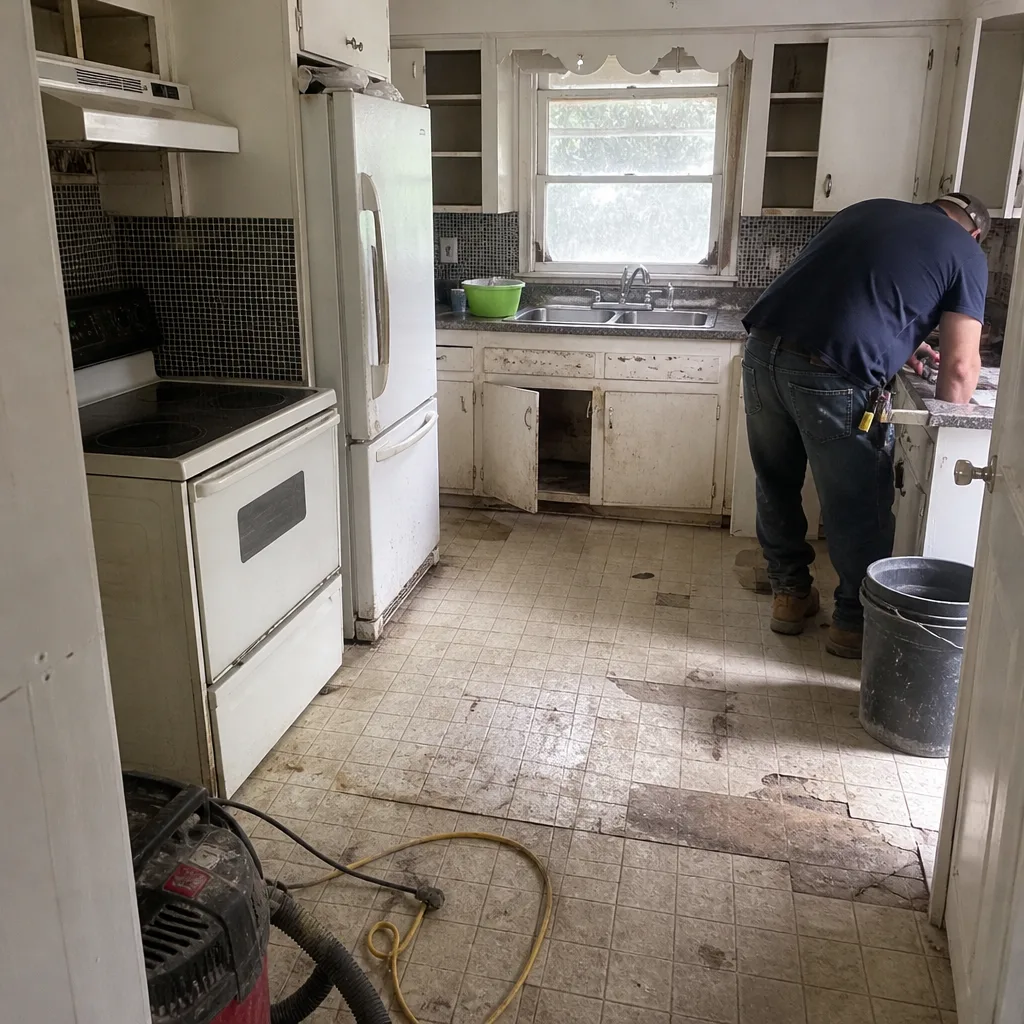 Before
 After
 Before
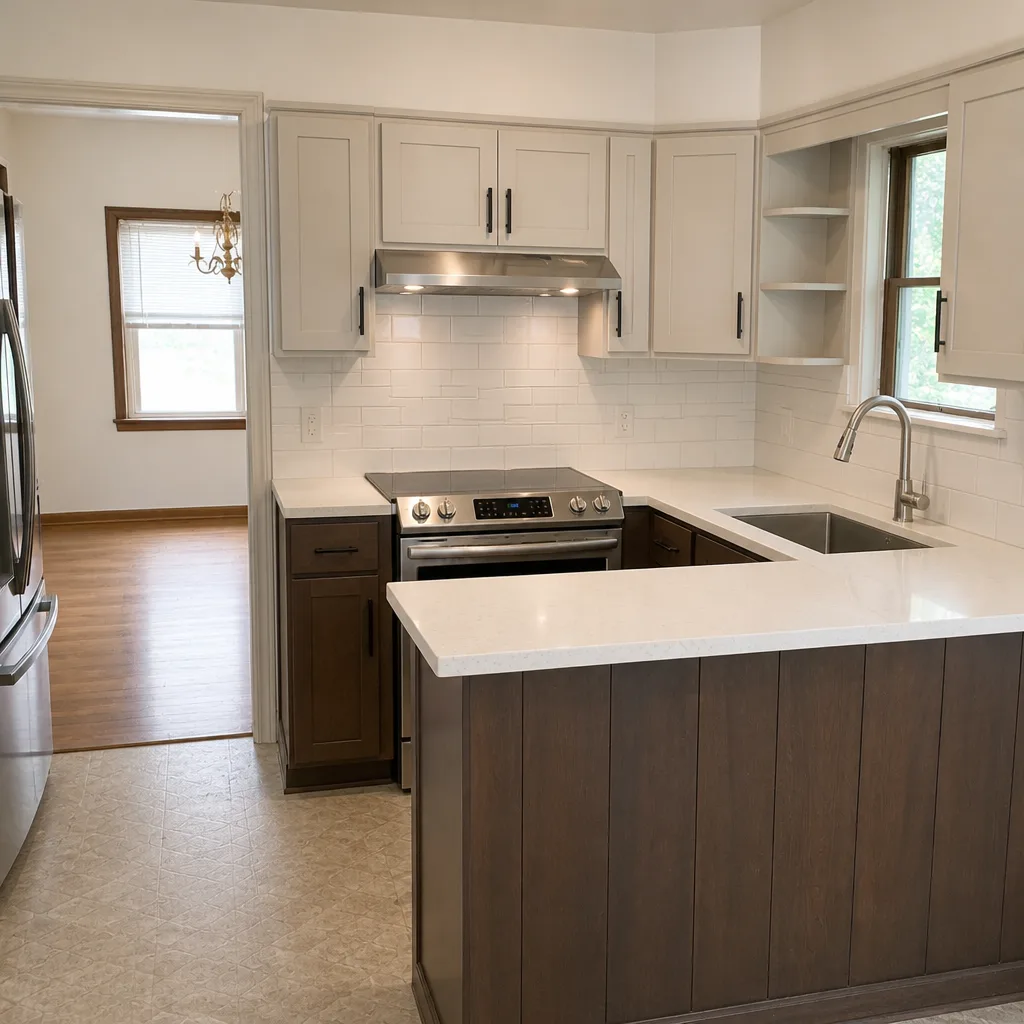 After