Last updated November 18, 2026






Free written scope consultation - allowances, timeline, and change-order rules on paper before a single trade is scheduled
Bathroom Remodeling Troubleshooting: Common Problems and How to Fix Them
A shower that leaks within 18 months of a remodel is almost always traceable to one of three missed inspections: the pre-pour liner test, the mortar bed slope measurement, or the waterproofing membrane inspection. And the city’s inspection record will show exactly which one was skipped. That’s the inconvenient truth about bathroom remodeling problems in Arlington and everywhere else – the failure you see on the surface started months earlier as a piece of paperwork that never got filed, a change order that never got signed, or a fixture that was specified by allowance instead of model number. This guide is a diagnostic tool. It teaches you to read the paper trail, group the fifteen most common failures by root cause, and figure out who’s responsible and what the fix costs before the dispute hardens.
Quick Answer
Most bathroom remodel problems trace to five root causes: waterproofing failures at the shower, undersized or misrouted exhaust ventilation, tile and substrate failures from insufficient subfloor stiffness, plumbing rough-in errors, and electrical code violations near water. The fix always starts with diagnosis, not demolition – pull the permit and inspection record, photograph the failure, and compare what was specified against what was installed. Waterproofing and structural repairs typically run $900-$4,200 depending on demo scope, and a written warranty plus a named inspection record is what makes any remedy enforceable.
Styles & brands we work with
- Kitchen remodeling
- Bathroom remodeling
- Home additions & ADU
- Roofing
- Windows & doors
- Driveway & pavers
- Fence
Table of Contents
- Organizing Bathroom Failures by Root Cause
- Diagnosing a Shower Waterproofing Failure
- Ventilation Failures: Undersized Fans and Attic Dumps
- Tile and Substrate Failures: Deflection and Debonding
- Plumbing Rough-In Errors
- Electrical Code Violations Near Water
- When a Problem Appears After Completion
- Common Mistakes to Avoid
- When to Call a Professional
Organizing Bathroom Failures by Root Cause
The fifteen failures we see most often fall into five categories, and knowing the category tells you which trade owns the remedy and which inspection should have caught it. Grouping by symptom (cracked tile, musty smell, peeling paint) sends you to the wrong trade; grouping by cause sends you to the right one.
- Waterproofing failures – liner tears, missed pre-slope, drain flange leaks, membrane punctures during tile setting. Owned by the tile/waterproofing trade. Caught by the shower pan inspection.
- Ventilation failures – undersized exhaust fans, fans vented into the attic, no timer or humidistat. Owned by the HVAC/electrical trade. Caught by mechanical inspection.
- Tile and substrate failures – deflection over L/360, missing uncoupling membrane, large-format tile set on green board. Owned by the tile trade. Not caught by inspection – caught by spec review.
- Plumbing rough-in errors – wrong drain center, reversed hot/cold, insufficient slope on the drain line. Owned by the plumber. Caught by rough-in inspection before the walls close.
- Electrical violations – no GFCI, receptacle too close to the sink, light fixture in the shower zone without wet-location rating. Owned by the electrician. Caught by electrical rough-in and final inspection.
In Arlington homes built between 2015 and 2025, we see the ventilation category dominate, mostly because attic-vented fans were acceptable under older local practice and homeowners don’t discover the problem until the attic sheathing shows condensation stains. The point is this: each category has a paper trail. The permit file names the inspection. The spec names the product. The change order names the person who approved the switch.
Diagnosing a Shower Waterproofing Failure
A leak at the shower is three different problems wearing the same costume. Distinguishing them requires about 20 minutes of testing and saves you thousands in unnecessary demo. Here’s how the diagnostic works:
- Plug the drain and fill the pan 2 inches with water. Mark the level. Check it in 24 hours. If the level drops and you see moisture below the shower, the liner or drain flange has failed.
- Spray the walls only, for 15 minutes, with the pan dry and plugged. If water appears at the floor or in the ceiling below, the wall membrane has failed.
- Check the grout and caulk joints first. If the leak only appears after a normal shower and stops within hours, the issue may be failed sealant at the drain or wall-to-floor joint, not the liner.
The three failure modes and their repair pathways look like this:
- Liner failure (pan leaks): Full pan demo down to the subfloor, new pre-slope, new liner, pre-pour flood test, re-inspection, re-tile. Budget $2,400-$4,200 for a standard 36×60 shower in Arlington, because the labor is in the demo and the waterproofing, not the tile.
- Drain flange leak: Sometimes repairable from the top if the flange gasket has failed without liner damage. $350-$900 if it can be fixed without demo. Full pan replacement if the liner was torn during the original install.
- Grout or sealant failure (no liner issue): Re-grout and re-caulk with 100% silicone, not latex caulk, at all plane changes. $200-$600 as a maintenance job. This one is not a waterproofing failure – it’s routine upkeep misdiagnosed as a catastrophe.
The inspection record separates these. If the pre-pour flood test was signed off, the liner held at install; the failure is likely at the drain flange or a later puncture. If there is no record, the liner was never tested, and that absence is your strongest evidence of contractor responsibility. When we quote a bathroom remodel in Arlington through our Rowan Construction Group Arlington home service, the pre-pour test documentation is part of the deliverable, photographed and filed.
Ventilation Failures: Undersized Fans and Attic Dumps
An exhaust fan that dumps into the attic instead of to the exterior is the single most common hidden defect we find behind finished bathroom ceilings. It passes visual inspection because the duct disappears into the attic. It fails physically because the moisture has nowhere to go but into the sheathing, where it condenses, stains, and eventually grows mold.
Sizing the fan is arithmetic, not opinion. Home Ventilating Institute (HVI) guidance sets the minimum at 1 CFM per square foot of bathroom floor area, with a bump for high ceilings and for each fixture:
- Base calculation: Length x width of the bathroom in feet = minimum CFM. A 5×8 bathroom (40 square feet) needs at least 40 CFM; a 10×10 (100 square feet) needs at least 100 CFM.
- Ceiling adjustment: For ceilings over 8 feet, add roughly 20% to the CFM for every additional foot of height.
- Fixture adjustment: Add 50 CFM for a jetted tub, and 50 CFM per shower head if the shower is enclosed.
- Ducting reality: A 50 CFM fan on a 25-foot flex duct with two elbows delivers far less than 50 CFM at the grille. Short, rigid, insulated duct to a roof or wall cap is what makes the rated CFM actually work.
To check an existing install, look at the exterior of the house where the fan should terminate. If you don’t see a wall cap or roof cap that corresponds to the bathroom, the fan is likely attic-vented. In Arlington’s hot summers and occasional cold snaps, that moisture load shows up fast – usually as dark staining on the roof sheathing directly above the fan. The fix is usually $400-$1,100 to reroute the duct to the exterior, add a proper roof or wall cap, and swap the fan for a higher-CFM unit with a humidistat control. That’s a lot less than the $2,000-$5,000 cost of repairing attic sheathing and insulation that’s been soaking for years.
Tile and Substrate Failures: Deflection and Debonding
Large-format tile – anything 12×24 inches or larger – cracks or debonds for one reason that outranks all others: the subfloor wasn’t stiff enough. The industry standard is L/360 deflection, meaning the floor can’t flex more than 1/360th of its span under a live load. A 10-foot span can deflect about one-third of an inch. That sounds like a lot, but tile is unforgiving, and a joist system that sags underfoot will pop the bond within a season.
Before any tile install, the subfloor also has to be the right thickness and material. Most tile manufacturers require a minimum of 1-1/4 inches of subfloor assembly (typically 3/4-inch plywood plus a 1/2-inch cement board or an uncoupling membrane), and large-format tile almost always needs an uncoupling membrane to absorb movement.
Here’s how to test an existing subfloor’s suitability:
- Check the joist span and size against a deflection calculator or span table. A 2×10 joist on a 15-foot span may not meet L/360 for tile without sistering.
- Stand in the middle of the floor and have someone walk nearby. Visible flex means deflection is a problem, regardless of what the calculator says.
- Pull a floor vent or access panel and measure the subfloor thickness and material. Particleboard or OSB directly under tile is a red flag – both are prone to swelling and should never be under a tile bed.
- Check for a crack isolation layer. If the tile was set directly on plywood or cement board without a membrane, debonding is a matter of time, not luck.
Repair scope for tile and substrate failure runs $1,800-$4,500 depending on how much floor comes up. That’s the reason we specify the subfloor assembly and deflection number in every written scope before work begins – the number and the spec are what a homeowner can hold a contractor to.
Plumbing Rough-In Errors
Rough-in mistakes are the invisible category. They happen behind the wall, they don’t fail until a fixture is connected, and by then the wall is closed. The three we see most in Arlington remodels:
- Drain center off by inches: The toilet flange or rough-in drain is set to the wrong distance from the wall, so the fixture fits badly or the flange sits proud of the finished floor. Fix requires opening the floor and re-roughing.
- Reversed hot and cold: A cross-connected supply line at the rough-in, discovered only when the shower valve is installed. Easy to fix at the valve, but a symptom that rough-in testing wasn’t done.
- Insufficient slope on the drain line: Waste lines need a slope of 1/4 inch per foot. A line that’s nearly flat will clog repeatedly and can’t be corrected without opening the wall or floor.
These errors are supposed to be caught at rough-in inspection before the drywall goes up. The inspection record is the key document: if a rough-in inspection was signed off but the rough-in was actually wrong, the inspection was incomplete or the work changed after inspection. Either way, the paper trail tells the story. Remediation typically runs $500-$2,000 depending on how much material has to come out to reach the error.
Electrical Code Violations Near Water
Electrical failures around water aren’t just a defect – they’re the one category where the risk is to a person, not to drywall. Every bathroom receptacle must be protected by a GFCI (ground-fault circuit-interrupter) device, and that includes the receptacle at the vanity and any receptacle within reach of the shower or tub. Switches and receptacles must sit at least 36 inches from the edge of the sink basin unless the receptacle is GFCI protected and set at the right height, and any fixture inside the shower’s wet zone has to be rated for wet locations, not just damp. A non-GFCI receptacle next to a sink is not a code quibble; it’s a genuine shock hazard and needs an electrician, not a YouTube tutorial. If you find an ungrounded or non-GFCI bathroom circuit in a home you just bought, shut the circuit off at the panel and get an electrician out before you use it. The fix is usually $150-$450 per circuit for a proper GFCI and correct pigtailing, but a panel from the 1960s may need more.
When a Problem Appears After Completion
This is where the guide earns its keep. When a shower leaks, a floor cracks, or a fan stops working 18 months after the job, the homeowner’s instinct is to argue with the contractor. The better move is to gather documents first, because the documents tell you exactly who’s responsible and what the remedy is. Here’s the sequence:
- Pull the city inspection record. Arlington keeps the permit history on file. Request it in writing. The record will show which inspections were performed, when, and whether any were skipped. A missing pre-pour flood test at the shower is your strongest evidence in a waterproofing dispute.
- Read the written warranty against the failure. An enforceable warranty names the components covered, the duration, the remedy (repair or replace), the response window, and the exclusions. A warranty that says “we stand behind our work” with no named components is a marketing line, not a contract.
- Compare the spec to what was installed. A fixture “allowance” in a quote is not a fixture. A quote that says “$400 allowance for the shower valve” and installs a $180 valve has a paper trail, and the homeowner authorized it. A quote that names the model number and installs a different one has a breach.
- Get a third-party inspection report. When the contractor disputes responsibility or won’t return, a licensed third-party inspector’s written report – with photos and a description of the failure and its probable cause – becomes the document that a mediation, arbitration, or small-claims proceeding relies on. Cost is $350-$650 in most North Texas markets.
If the original contractor is still in business and the promise is in writing, the move is to invoke the warranty in writing with a deadline. If they’ve vanished, the third-party report plus the inspection record is what lets the next contractor quote the repair accurately instead of tearing out more than necessary. Every project we complete under the 365-Day Done Right Promise is backed by a written warranty and a documented photo record, so the paper trail exists before the dispute does. If you need a second set of eyes on a dispute, we offer a Home Additions & ADU in Arlington scope review at no charge, and we’ll review a competitor’s written estimate line by line as a free second opinion.
Common Mistakes to Avoid
- Treating an allowance as a fixture spec. An allowance is a dollar placeholder. Ask for the model number and brand on any fixture line before you sign, or you’re pricing an idea instead of a product.
- Signing a change order under pressure. A change order is a contract amendment. If a crew asks you to approve additional work “so they can keep moving today,” the answer is no until the price and scope are written. Weekends and Fridays are a common window for this in Arlington crews working multiple jobs.
- Skipping the pre-pour flood test to save a day. It takes 24 hours and it catches the liner leak before tile. It’s the cheapest insurance in the whole bathroom, and it should be photographed and included in the file.
- Venting a fan into the attic. The cheapest path for the installer and the most expensive for the homeowner. If you can’t find an exterior cap, you have a problem.
- Setting large-format tile on an old floor without checking deflection. Cracked tile within one heating season is the signature.
- Ignoring a musty smell. In Arlington’s humid months, a smell that appears after showers and fades by afternoon is a ventilation or membrane problem, not a cleaning problem.
- Accepting a verbal warranty. A warranty you can’t read and hold a contractor to is not a warranty. Get it in writing with named components and a response window.
If you’re weighing a repair against a full rebuild, the same discipline applies. A scope review of Driveway & Pavers in Arlington and Fence Installation in Arlington projects uses the same written-price model as a bathroom, which is how you can tell whether a contractor is really giving you a number or just an estimate with a handshake.
When to Call a Professional
Call a professional the moment any of these conditions shows up: a leak from the shower that continues after the surface dries, moisture staining on attic sheathing or ceiling below a bathroom, tile that deflects or sounds hollow underfoot, a bathroom circuit without GFCI protection, a fan with no visible exterior termination, or any dispute with a contractor over a documented failure. These are not weekend projects, and the cost of a wrong diagnosis (extra demolition, missed permits, re-inspection fees) usually exceeds the cost of a correct one. For homeowners reviewing a written estimate from another contractor, our free second opinion reviews the quote line by line at no charge and tells you what’s missing. Rowan Construction Group Arlington offers free estimates in Arlington – call (844) 761-7521 to schedule yours.
See the difference
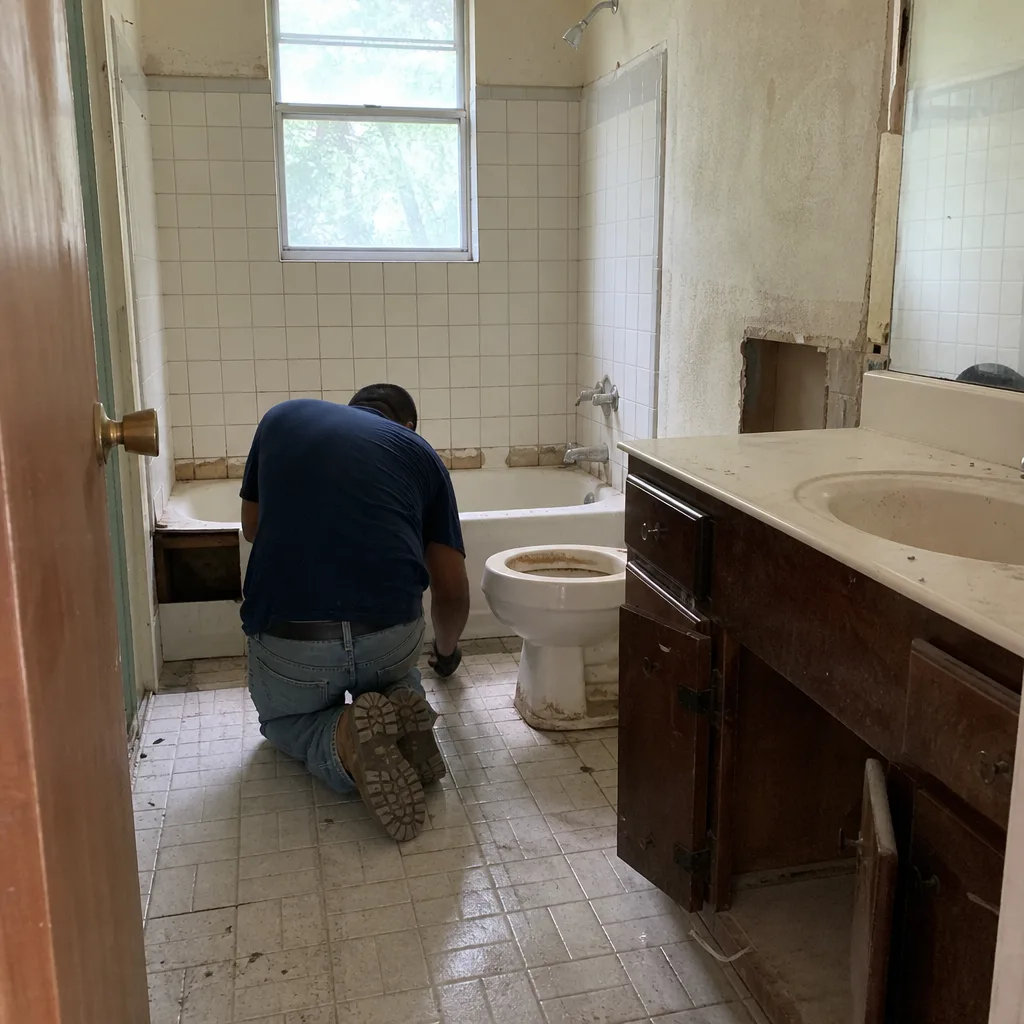 Before
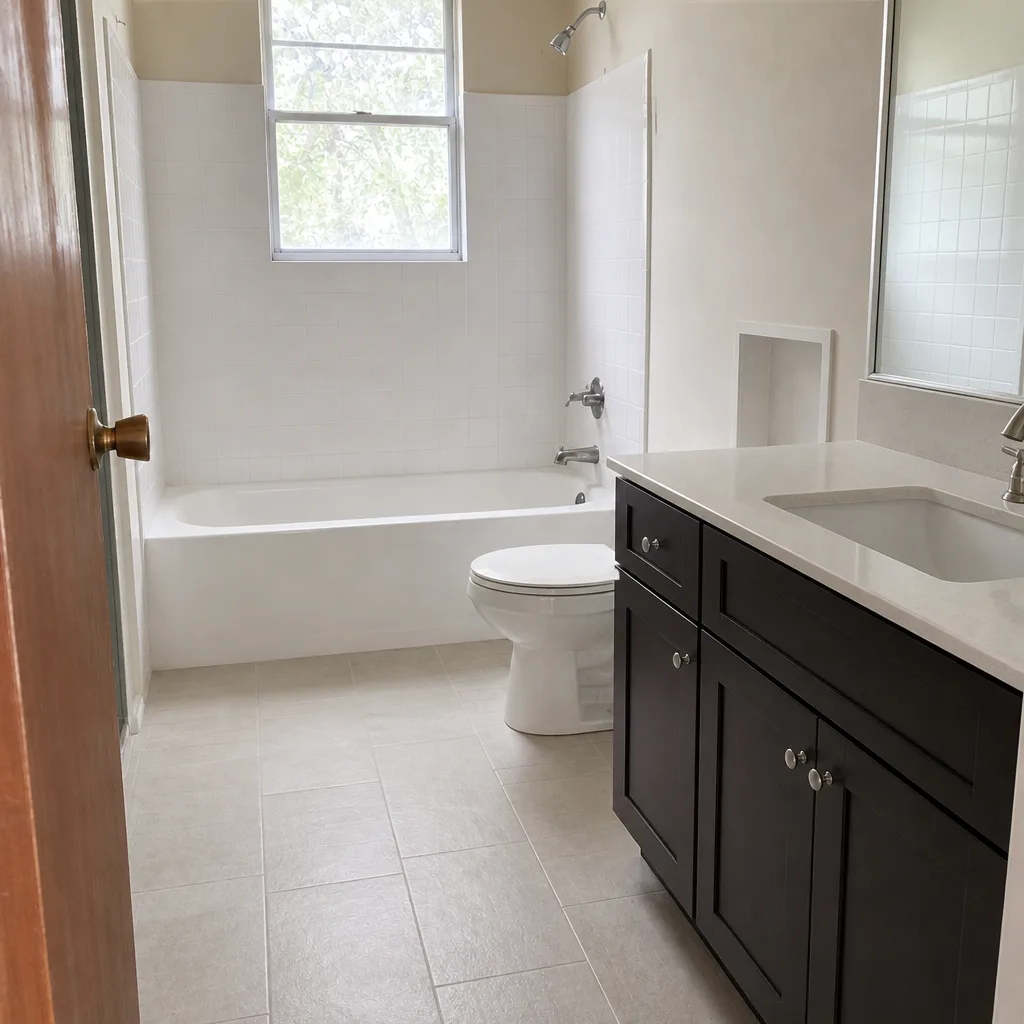 After
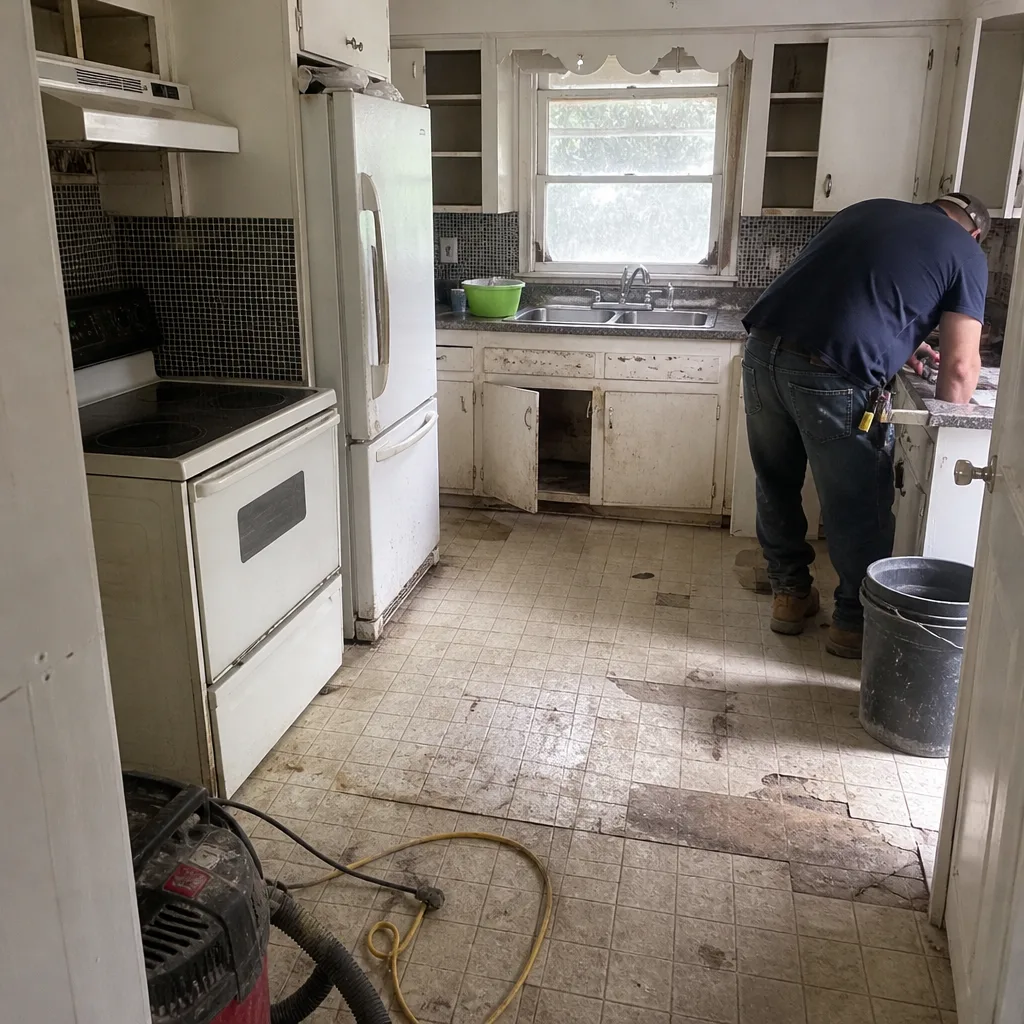 Before
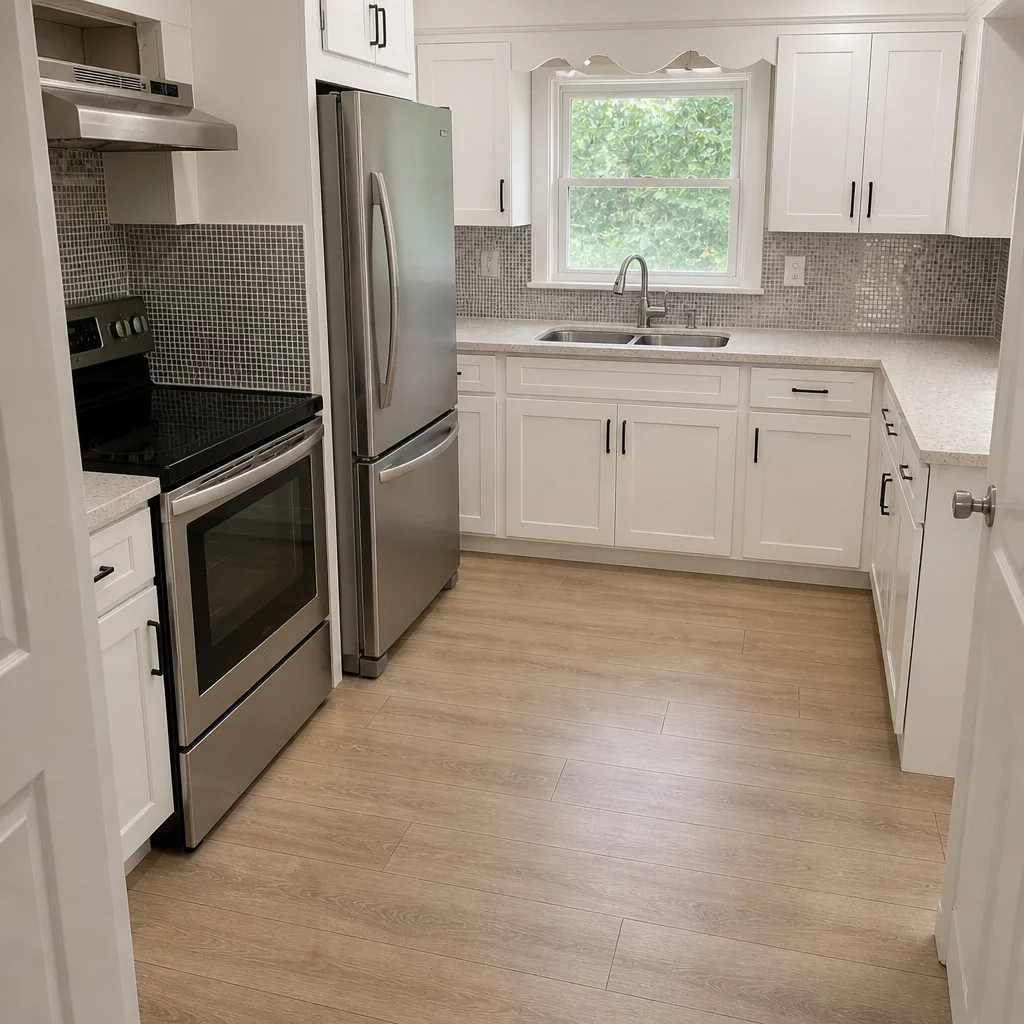 After
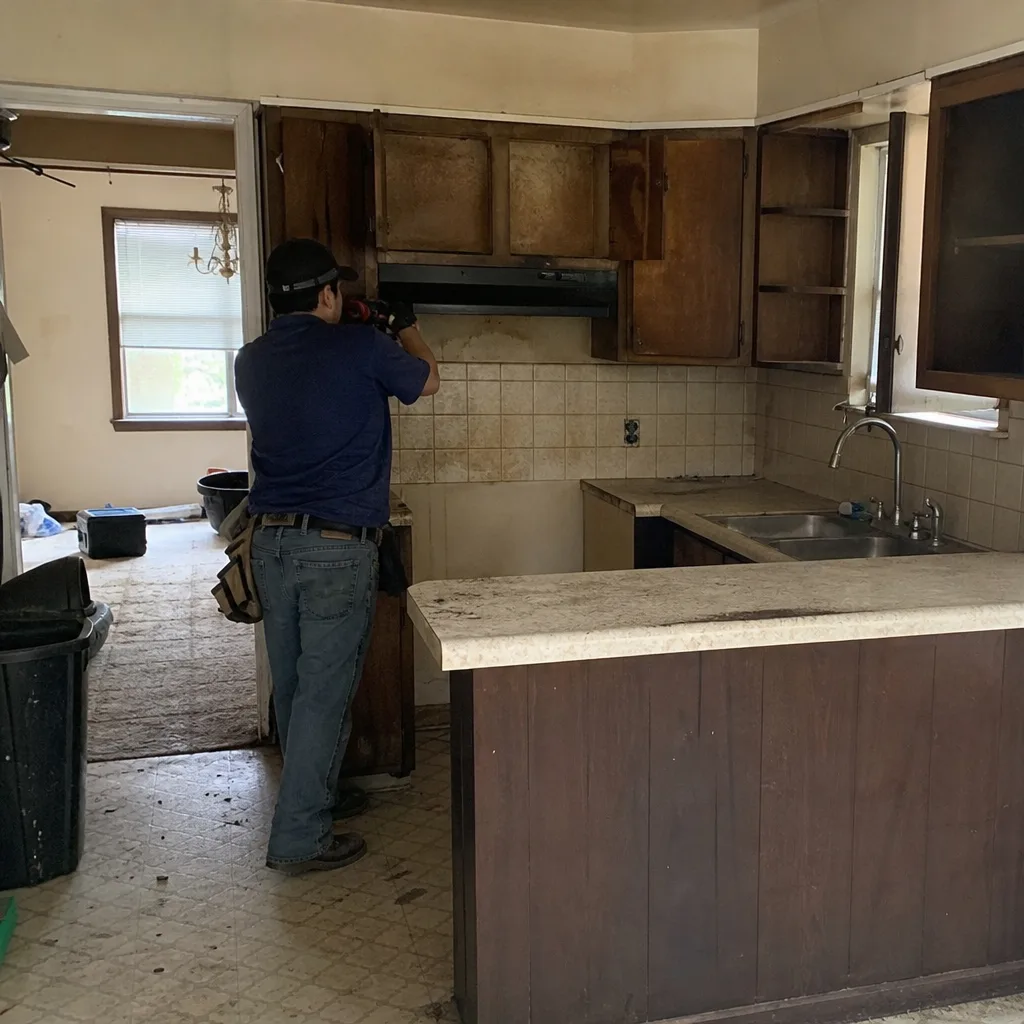 Before
 After
Frequently Asked Questions
Plug the drain, fill the pan 2 inches, and check the level in 24 hours: a drop with moisture below means liner or drain flange, not grout. If the pan holds but the ceiling below shows moisture only after wall spray, it’s the wall membrane. Grout and sealant failures typically leak only during active showering and stop within hours – those are a $200-$600 re-caulk and re-grout job, not a pan replacement. Call (844) 761-7521 for an exact quote on the diagnostic – estimates are free.
Minimum is one CFM per square foot of floor area, plus roughly 20% for every foot of ceiling above 8 feet, plus 50 CFM for a jetted tub and 50 CFM per enclosed shower head. A 5×8 bathroom needs at least 40 CFM; a 10×10 needs at least 100. If your fan is venting into the attic rather than through a wall or roof cap, the rated CFM doesn’t matter – the moisture is still in the house.
It shouldn’t if the scope was written correctly and inspected first. A written price before work starts is a flat price with a written scope, and any change to it requires a signed change order before the change proceeds. That’s how we’ve kept projects within a few percent of the agreed number across 4,000-plus jobs. If a contractor won’t put the number in writing, that’s the change order problem showing up early.
In most Arlington cases, yes – shower pan replacement involves the plumbing and waterproofing system and requires a permit with a pre-pour inspection; fan replacement often requires an electrical permit and mechanical inspection depending on whether the circuit is altered. Ask before work starts and get the permit number in writing. Skipping it is what makes a future dispute unwinnable for the homeowner.
A full pan replacement typically takes 5-8 working days from demo to re-tile, because the flood test itself takes 24 hours and re-inspection adds another day. A drain flange repair that can be reached from the top is often 1-2 days. A grout and sealant refresh is a single day. Plan on a week for anything that opens the pan, and don’t let anyone compress the flood test to save time.
Request it in writing from the city’s building department by property address; the permit history lists every permit, every inspection performed, and the inspector’s sign-off. If a permit was never pulled for the bathroom remodel, that absence is itself the finding. Pull it before you call a repair contractor – it changes what you ask for and what you’re entitled to.
The Bottom Line
Bathroom remodel problems are rarely mysteries. They’re documentation failures wearing a symptom. The shower that leaks, the tile that cracks, the fan that doesn’t vent – each one traces back to a missed inspection, an unnamed fixture, an unsigned change order, or a spec that was never written down. Homeowners who learn to read the permit record, the written warranty, and the model-number line on a quote can diagnose the cause and identify the responsible party before a dispute hardens. That’s the whole thesis of this guide, and it’s the same discipline we apply to every bathroom we build through Rowan Construction Group Arlington – written price before work starts, documented photo record on every visit, and a 365-Day Done Right Promise printed on the page. Call (844) 761-7521 for a free estimate on any bathroom repair or remodel in Arlington. Our technicians have up to 19 years of experience, and a live person answers the phone 24/7.
Written by the team at Rowan Construction Group Arlington.