Last updated November 18, 2026








Free written scope consultation - allowances, timeline, and change-order rules on paper before a single trade is scheduled
Bathroom Remodeling Maintenance Schedule: What to Do and When
Grout doesn’t fail randomly. It fails on a clock, and the clock starts the day the last tile is set. Cement-based grout in a shower typically begins absorbing water within weeks of curing, and the caulk bead at the tub-to-tile seam usually shows its first hairline crack around month 14 to month 18 in an Arlington bathroom that sees daily use. Most homeowners never hear this at project closeout because the contractor’s warranty has already expired by the time the failure becomes visible. What follows is the maintenance calendar we wish every client received on day one: a month-by-month, year-by-year schedule tied to the specific materials and assemblies in your Arlington bathroom. You’ll learn what to check at Day 30, what to do at Year 1, and what to budget for by Year 5.
Quick Answer
A bathroom remodel needs maintenance on a fixed calendar, not when something looks wrong: check caulk joints and grout lines at Day 30 and every 6 months after, reseal cement grout every 1 to 2 years (epoxy grout may never need sealing), clean the exhaust fan and verify its CFM once a year, and inspect the shower pan, toilet base, and supply lines at the Year 1 and Year 5 marks. Materials determine the schedule. Epoxy grout, porcelain tile, and solid-surface counters need far less attention than cement grout, natural stone, and wood vanities in Arlington’s humidity.
Styles & brands we work with
- Kitchen remodeling
- Bathroom remodeling
- Home additions & ADU
- Roofing
- Windows & doors
- Driveway & pavers
- Fence
Table of Contents
- The Day 30 Checkpoint: What to Inspect After the First Month
- Grout and Caulk: The Real Resealing Schedule by Material
- Exhaust Fan CFM Verification: Arlington’s Humidity Problem
- The Year 1 Walkthrough: Water Lines, Drains, and Shower Pan
- The Year 5 Deep Check: Tile, Toilet, and Vanity
- Matching Maintenance to Materials: A Reference
- Your One-Page Downloadable Checklist
The Day 30 Checkpoint: What to Inspect After the First Month
Thirty days after the tile is set and the fixtures are trimmed out, your bathroom settles into its first real test. Materials move. Caulk that looked perfect at closeout can pull a hair away from the substrate as it cures fully, and grout shrinks microscopically as it dries. This is normal, and it’s exactly why the Day 30 inspection matters more than any check that comes later.
Here’s what to do at the 30-day mark:
- Walk every caulk joint with a fingernail. Run your thumbnail along the bead at the tub-to-tile seam, the shower pan perimeter, and the vanity backsplash. You’re feeling for gaps, lifting, or a bead that has pulled away from the tile or the tub. A bead that flexes under light pressure is doing its job; one that’s already cracked is not.
- Check grout lines in the shower. Look for pinholes, small divots, or hairline cracks, especially on the floor where water pools. Cement grout that cured too fast (common in Arlington’s dry winter air) can show early pinholes.
- Test the exhaust fan by feel and by fog. Run a hot shower for ten minutes with the door closed and the fan on. If the mirror clears within a couple of minutes, you have decent airflow. If fog lingers, the fan is underperforming.
- Look under the sink and behind the toilet for moisture. A dry paper towel pressed to the supply line fittings and the toilet base should come back dry.
- Photograph everything. A dated photo record at Day 30 gives you a baseline. When something fails at Year 3, you’ll know exactly when it started.
If you find a pulling caulk joint at Day 30 and the work was recent, call your contractor before you touch it. Under our 365-Day Done Right Promise, that kind of early failure is on us to fix. If you’re past that window or inherited a remodel from a previous owner, this is the moment to start your own maintenance log. Our Rowan Construction Group Arlington home page outlines how we handle post-project walkthroughs.
Grout and Caulk: The Real Resealing Schedule by Material
This is the section most generic maintenance guides get wrong. “Reseal your grout every year” is not a schedule; it’s a guess. The truth depends entirely on what was installed.
Epoxy grout is essentially non-porous once cured. It does not need sealing, ever. If your remodel used an epoxy grout in the shower (a common upgrade in Arlington’s newer builds), you can skip resealing entirely and focus on cleaning and caulk instead. Cement-based grout is porous. It absorbs water and stains, and it typically needs sealing every 12 to 24 months in a shower and every 2 to 3 years on a bathroom floor. Natural stone (marble, travertine, slate) needs a penetrating sealer every 6 to 12 months, more often in a steam-heavy shower.
Caulk is a different animal. It’s a flexible seal, and it wears out faster than grout because it moves. The rule of thumb in our experience:
- Shower and tub caulk: inspect every 6 months, replace every 2 to 3 years.
- Vanity-to-wall caulk and backsplash seams: inspect annually, replace every 3 to 5 years.
- After any period of extreme temperature swing: add a quick visual check. Arlington’s summers push interior humidity up and windows of cold snaps in January contract the caulk bead.
What does a caulk inspection actually involve? It means pressing the bead at each end and the midpoint and looking for separation from the substrate, cracking, or discoloration that won’t clean away. A bead that has pulled away from the tile at even one spot is taking on water behind it. That water has nowhere to go but into the wall. This is why we schedule caulk replacement on the calendar rather than waiting for visible mold.
Exhaust Fan CFM Verification: Arlington’s Humidity Problem
Arlington runs hot and humid for a good chunk of the year. July afternoons routinely sit above 90°F with humidity to match, and an undersized or clogged bathroom exhaust fan becomes a real failure point, not a minor annoyance. The fan is your bathroom’s only defense against moisture migrating into drywall, framing, and the attic above.
A fan is rated in CFM (cubic feet per minute) at the time of installation. Over time, dust and lint build up on the blades and the motor housing. A fan rated at 110 CFM can drop to 60 or 70 CFM after a couple of years of accumulated dust, and that’s below the minimum most building codes require for a bathroom of standard size. The fix is straightforward:
- Once a year, kill the power at the breaker and remove the fan grille. Wash the grille in warm soapy water and dry it fully.
- Vacuum the blades and housing with a brush attachment. Don’t spray cleaner into the motor housing.
- Check the duct and exterior vent flap. In Arlington, the exterior vent hood can get clogged with wasp nests, leaf debris, or lint. If the flap doesn’t open freely, the fan can’t move air.
- Verify airflow with the tissue test. Hold a single ply of toilet tissue up to the running grille. If it holds, airflow is decent. If it drops, the fan is either dirty or undersized.
- Replace the fan if it’s older than about 10 years or rated below 80 CFM for a full bathroom. Modern fans are quieter and move more air for less energy.
If your fan short-cycles, rattles, or won’t clear the mirror, call a licensed electrician rather than opening the housing yourself. Exhaust fans connect to line voltage in a wet location, and that’s not a component to troubleshoot casually.
The Year 1 Walkthrough: Water Lines, Drains, and Shower Pan
The one-year mark is where every small issue either gets caught or compounds. At Year 1, we recommend a focused walkthrough that takes about an hour and covers the parts of the bathroom you can’t see day to day.
- Supply lines and shutoff valves: Look under the sink and behind the toilet. Check the braided stainless lines, the angle stops, and the connections for any sign of corrosion or moisture. If you see green crust on a copper fitting or white mineral bloom on a valve, that valve is failing.
- Shower pan and drain: Fill the shower pan with an inch of water and let it sit for 20 minutes. Then check the ceiling below (if the bathroom is upstairs) or the floor around the drain for any dampness. A pan leak caught at Year 1 is a $400 repair; caught at Year 6 it’s a $4,000 rebuild.
- Toilet base and wax ring: Rock the toilet gently. Any movement means the wax ring is compromised and needs replacing before it silently rots the subfloor. Check the caulk at the base for discoloration.
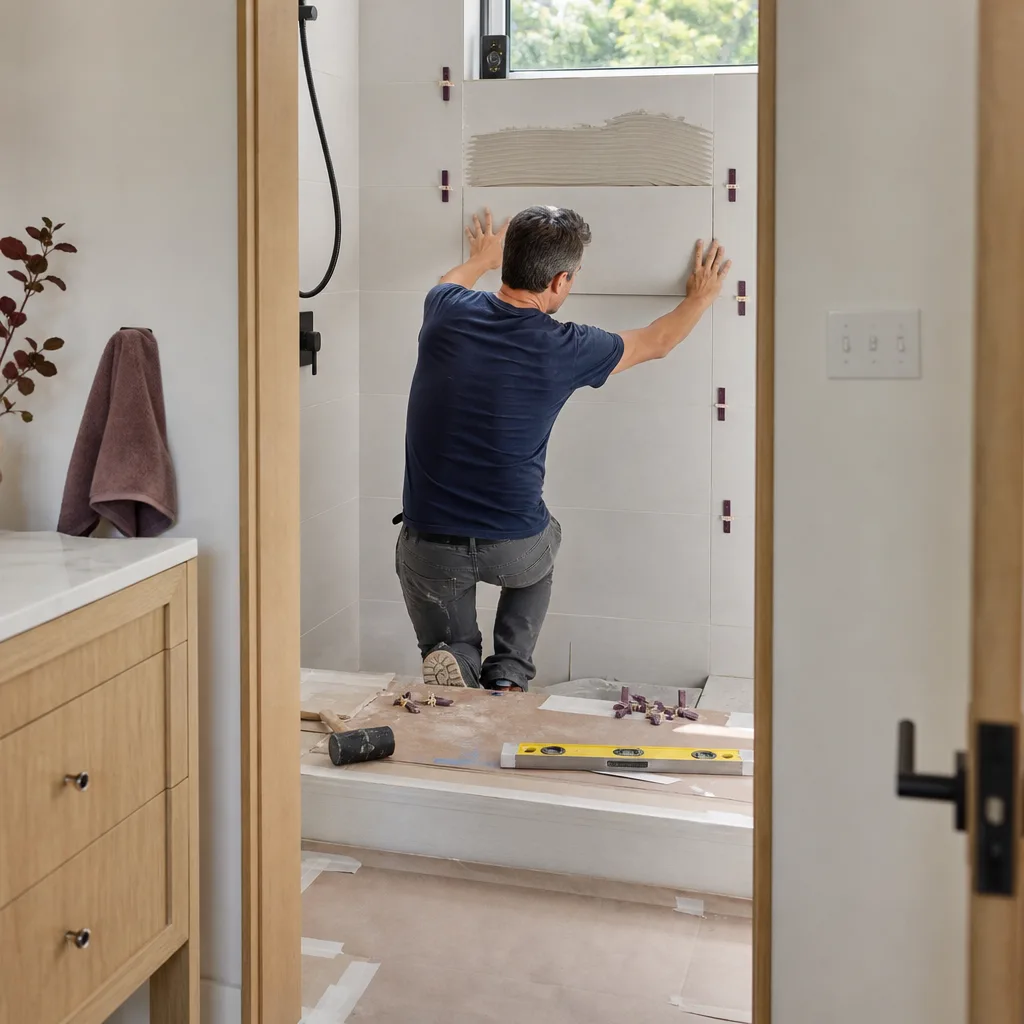
- Tile and grout: Walk the shower walls with your hand. Tap any hollow-sounding tiles with the handle of a screwdriver. Hollow tile means the thinset didn’t bond fully; a loose tile in a wet area lets water behind the substrate.
- Vanity and counter: Inspect the caulk line where the counter meets the wall and where the sink meets the counter. Check under-sink cabinetry for any sign of moisture or de-lamination.
If your Year 1 walkthrough turns up anything suspicious, the cost of a second set of eyes is small compared to a rebuild. We offer a free second opinion on any written estimate if you’re considering a repair, and our Home Additions & ADU in Arlington page covers how we handle adjacent structural work if a pan leak has spread.
The Year 5 Deep Check: Tile, Toilet, and Vanity
By Year 5, a bathroom has been through anywhere from 1,500 to 2,000 showers, several seasonal humidity swings, and the normal wear of daily life. This is where the maintenance calendar separates a bathroom that lasts 25 years from one that needs a remodel at year 12.
At the five-year mark, walk through these checks:
- Reassess every caulk joint. Even if you’ve replaced caulk every 2 to 3 years, this is the moment to consider full replacement rather than spot repair. Caulk that has been re-layered multiple times loses adhesion at the base.
- Evaluate the grout on floors and walls. Cement grout in the shower will likely need a fresh seal or a re-grout by this point if it wasn’t sealed well to begin with. Look for dark staining in shower floor grout: that’s mold growing below the surface, not on it.
- Inspect the toilet tank internals. Flappers, fill valves, and supply lines have a 5 to 7 year service life. Mineral buildup in Arlington’s water supply accelerates wear. Replace the flapper proactively; it’s $10 and saves you from a silent leak that runs up your water bill.
- Look at the bathroom door and frame. Swelling at the bottom of the door frame or hinge points is the first sign that moisture is reaching places it shouldn’t. Check the paint for bubbling.
- Check the exhaust fan again. By year 5, even a decent fan may be marginal. If you’re keeping it, clean it thoroughly and test. If it’s original to the house and older than 10 years, replace it.
Beyond the fixtures themselves, look at the walls around the bathroom. A bubble in the drywall on the adjoining hallway wall means water has been migrating for a while. This is also the right time to think about whether a small reconfiguration makes sense; our Driveway & Pavers in Arlington page isn’t directly relevant to bathroom work, but the same written-price discipline applies to any upgrade. Same flat quote, same signed change order, same 365-Day Done Right Promise.
Matching Maintenance to Materials: A Reference
The single biggest variable in your schedule is what your bathroom is actually made of. Here’s a quick-reference mapping of the most common materials we install in Arlington remodels and the maintenance each one demands.
- Epoxy grout: no resealing required. Wipe down with a pH-neutral cleaner monthly. Inspect for cracks at Year 1 and Year 5.
- Cement grout (sanded or unsanded): seal the shower every 12 to 24 months; floor grout every 2 to 3 years. Use a penetrating sealer, not a topical coating.
- Natural stone (marble, travertine): penetrating sealer every 6 to 12 months in a wet area. Avoid acidic cleaners entirely.
- Porcelain and ceramic tile: essentially zero maintenance beyond grout care. Clean with a neutral pH cleaner; skip abrasive pads.
- Cambria or Caesarstone quartz counters: no sealing needed. Clean with mild soap and water; avoid bleach on the surface.
- Granite and other natural stone counters: reseal every year.
- Kohler and Toto fixtures: both have replaceable cartridges and flush valves with long service lives. Check the parts lists once a year; replacing a $15 cartridge is easier than replacing a $400 faucet.
- Wood vanities: check the finish on the wood near the sink and shower for lifting or water staining. Touch up annually with a compatible finish.
- Caulk (all types): inspect every 6 months, replace every 2 to 3 years in wet zones, 3 to 5 years at dry zones. Silicone lasts longer but doesn’t take paint.
When we build a written quote, we list the specific grout, tile, and fixture by brand and model, so the maintenance schedule is derivable from the paperwork. That’s how a written scope should work: you should be able to look at the quote and know what your calendar will look like. If you’re adding an outdoor element to your property at the same time, our Fence Installation in Arlington page covers the materials we use (Jerith aluminum, Bufftech vinyl, ActiveYards) and their own low-maintenance profiles.
Your One-Page Downloadable Checklist
The best maintenance schedule is the one you can hand to a buyer, a home inspector, or the next owner of your home. Print this list, keep it in a bathroom drawer or a notes app, and check off each entry with a date. When you sell, this document does more for a buyer’s confidence than a fresh coat of paint.
Every 6 Months
- Inspect every caulk bead (tub, shower pan, vanity, backsplash). Record date and findings.
- Run a 10-minute hot shower test on the exhaust fan; verify the mirror clears within 2 to 3 minutes.
- Check under the sink and behind the toilet for moisture or mineral crust.
Every 12 Months
- Reseal cement grout in the shower if it was installed within the last 2 years; otherwise re-evaluate.
- Remove, wash, and vacuum the exhaust fan grille and blades.
- Inspect the exterior vent hood and flap for debris or nests.
- Test the shower pan with a 1-inch water level for 20 minutes; check the ceiling below.
- Inspect toilet base, supply line, and flapper; replace flapper if older than 5 years.
Every 24 to 36 Months
- Replace shower and tub caulk completely.
- Re-seal natural stone surfaces.
- Deep-clean grout; consider a professional re-grout if staining persists.
Year 5 and Beyond
- Full bathroom walkthrough (supply lines, tile adhesion, door frame, fan).
- Evaluate whether a partial refresh (caulk, grout, hardware) or a full remodel makes more economic sense.
Photograph the checklist entries as you go. That photo record, combined with the written scope from your original quote, is exactly what a well-documented bathroom should look like. If you ever want a second set of eyes to review what you’re seeing, our written quote and free second-opinion policy apply to maintenance evaluations the same way they do to new work.
Common Mistakes to Avoid
- Treating “reseal the grout every year” as a universal rule. If your bathroom has epoxy grout, you don’t need to seal it, and sealing it can leave a cloudy film. Match the task to the actual material on the wall.
- Ignoring a hairline caulk crack because it “doesn’t look that bad.” Water behind a compromised caulk bead causes mold and rot long before it’s visible from inside the bathroom. The repair is under $50; the consequence is thousands.
- Never cleaning the exhaust fan. In Arlington’s humidity, a clogged fan is a moisture problem, not just a ventilation annoyance. Dust accumulation cuts CFM quickly, and no one notices until the ceiling below starts to bubble.
- Running the fan for one minute after a shower. The fan needs to run for at least 15 to 20 minutes after the water stops, or the moisture stays in the air and settles into the drywall.
- Skipping the toilet base inspection. A toilet that rocks slightly means the wax ring is failing. Every month you ignore it adds subfloor damage that’s invisible until you pull the fixture.
- Using bleach on stone and grout. Household bleach degrades cement grout over time and etches natural stone. Use a pH-neutral tile cleaner and reserve bleach for the toilet bowl.
- Not keeping any written record of the maintenance you’ve done. When you sell, a dated maintenance log makes your bathroom a selling point; without one, buyers assume nothing has been done.
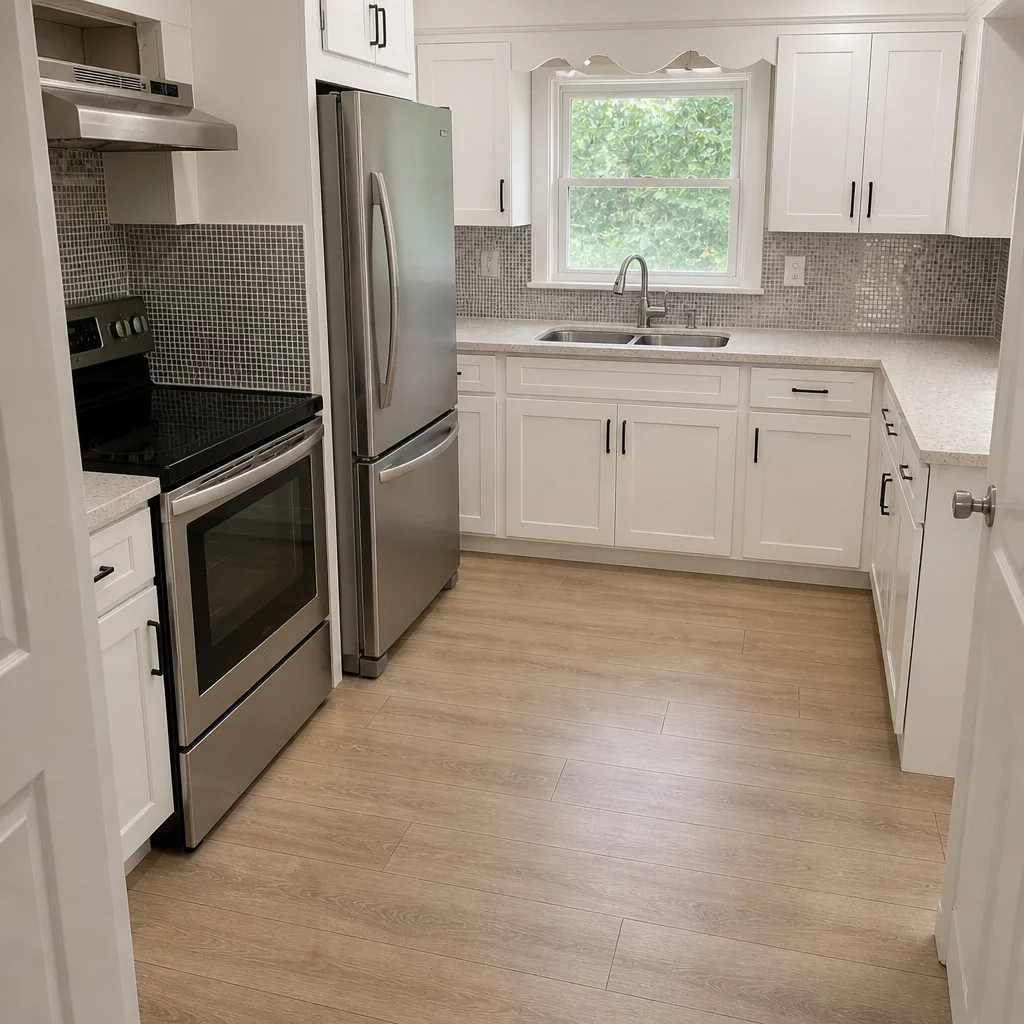
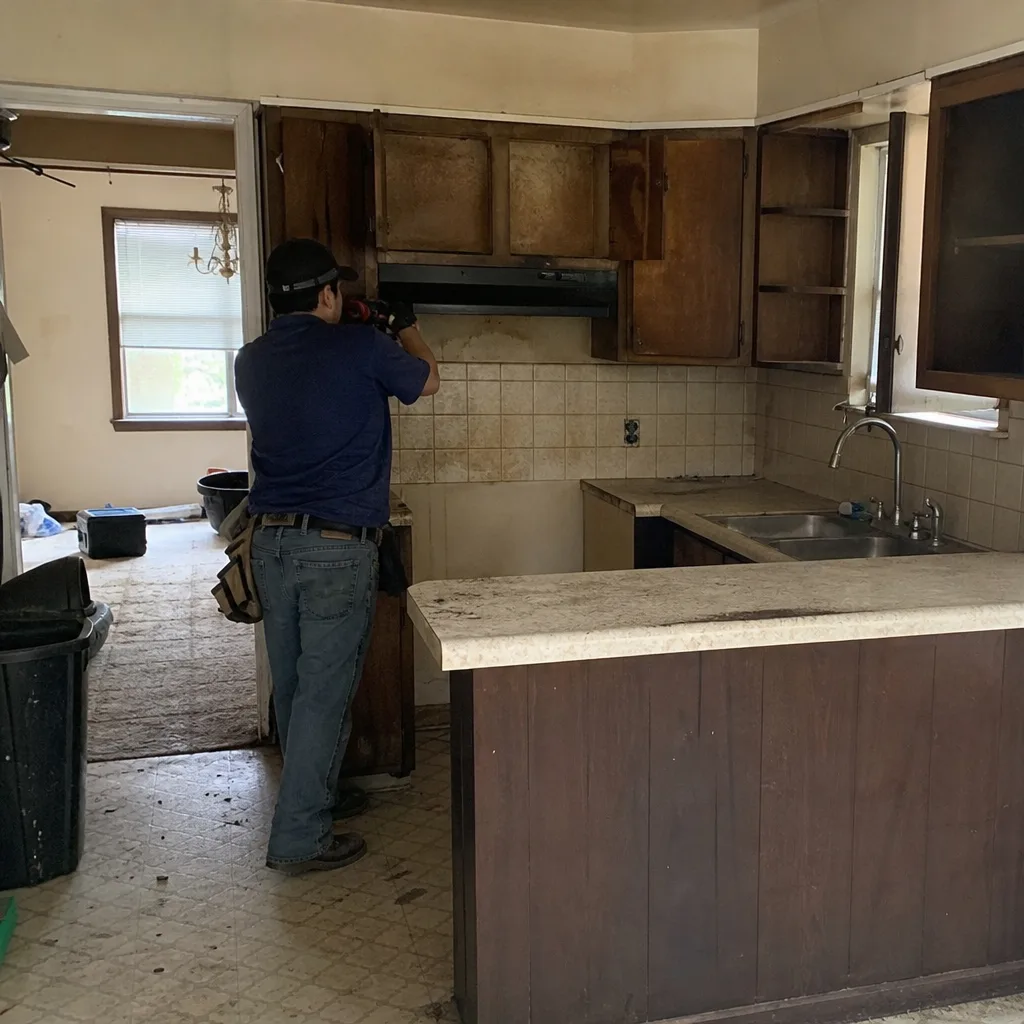
See the difference
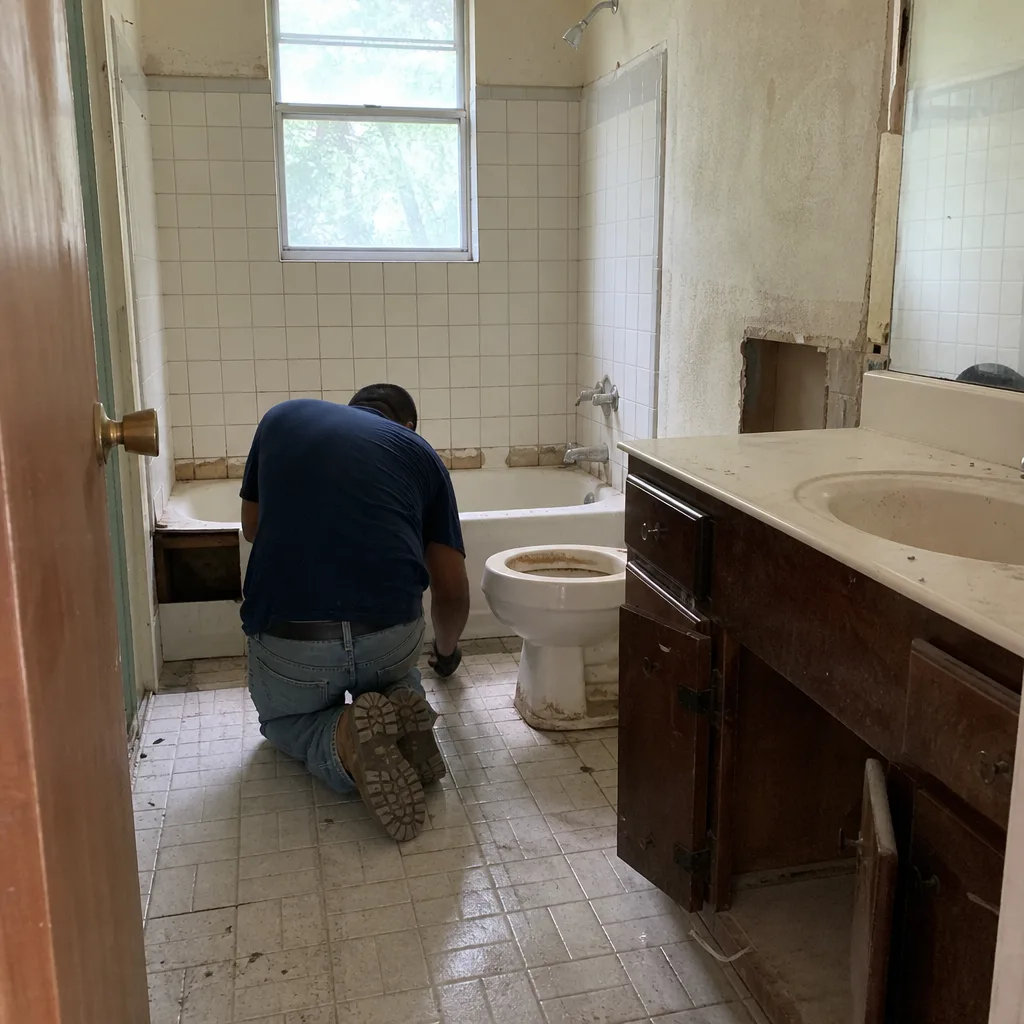 Before
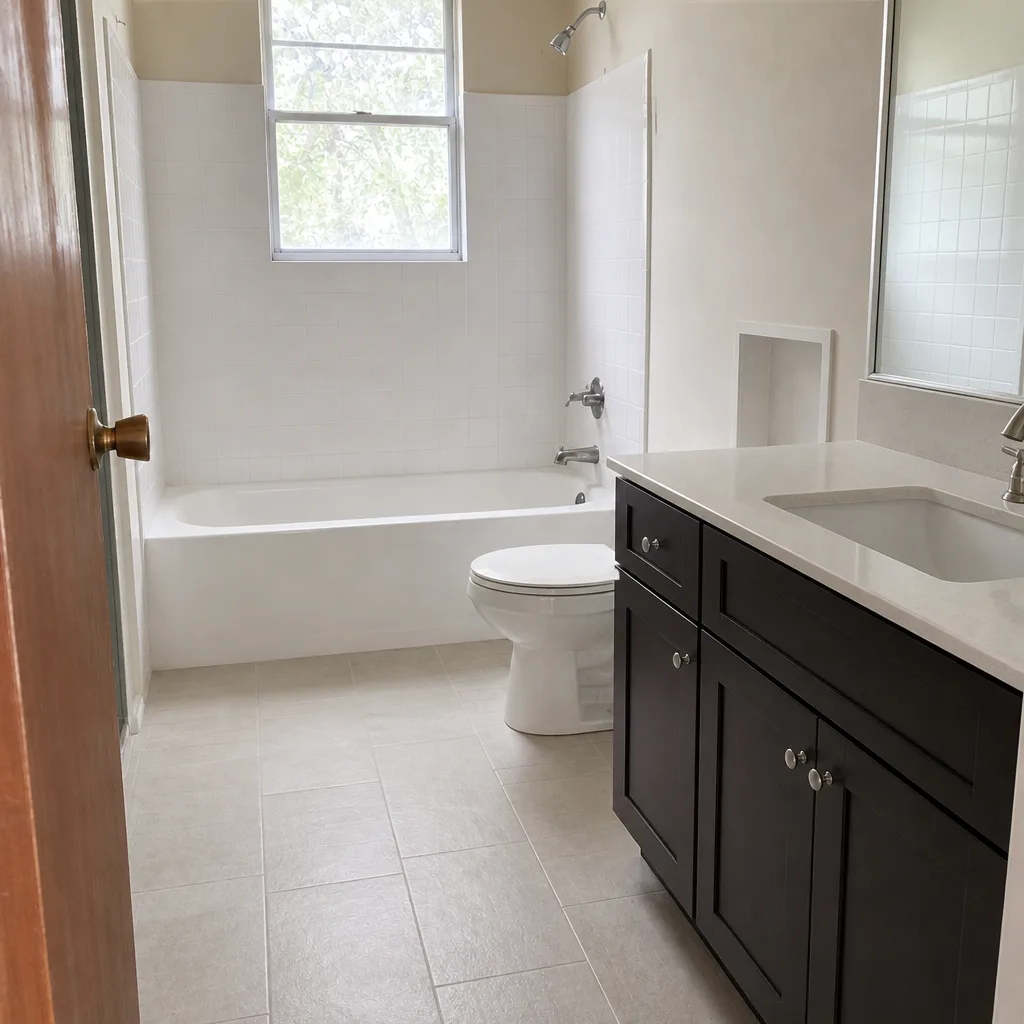 After
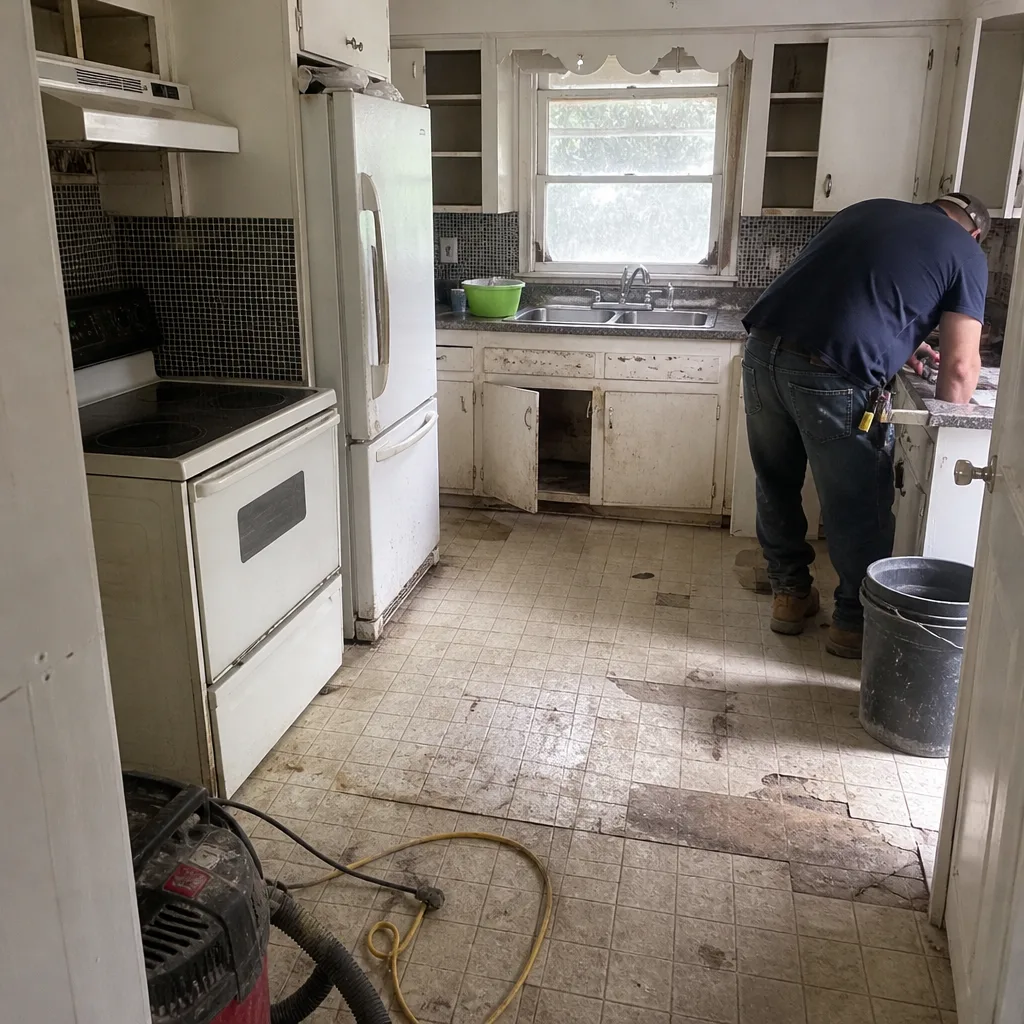 Before
 After
 Before
 After
When to Call a Professional
Some of this calendar you can handle with a caulk gun and a vacuum brush. Some of it you shouldn’t touch. Call a professional immediately if you see: water staining on the ceiling below the bathroom, a shower pan that fails the fill test, hollow-sounding tile in a wet area, a toilet that rocks on its base, or any moisture at a supply line fitting or electrical component. Exhaust fan replacement, valve and shower cartridge work, and any tiling or grout repair behind tile are all jobs for a licensed trade, not for a weekend. Rowan Construction Group Arlington offers free estimates in Arlington – call (844) 761-7521 to schedule yours, and we’ll bring a written scope and a photo record on the very first visit.
Frequently Asked Questions
Cement-based grout in a shower needs resealing every 12 to 24 months; epoxy grout needs no sealing at all. Natural stone surfaces need a penetrating sealer every 6 to 12 months. Match the interval to the material, not a generic yearly rule. If you’re not sure what was installed, call (844) 761-7521 and we can inspect the grout line and tell you.
Run your thumbnail along the bead at every joint, press the ends and the midpoint, and look for separation from the tile or tub, cracking, or discoloration that won’t clean away. A bead that has pulled away from the substrate is taking on water. If the joint flexes under light pressure, it’s doing its job. Inspect every 6 months and replace every 2 to 3 years in wet zones.
Dust, lint, and debris accumulate on the blades and motor housing over time, and a fan that was rated at 110 CFM can drop to 60 or 70 CFM after a couple of years. Clean the grille and blades yearly, and check the exterior vent flap for nests or lint blockages. If cleaning doesn’t fix it, the fan may be undersized for the bathroom. Call (844) 761-7521 if you want us to test and recommend a replacement.
Fill the pan with about an inch of water and let it sit for 20 minutes, then check the ceiling below or the floor around the drain for any dampness. A visible crack is obvious, but most pan leaks are invisible from inside the shower. This test at Year 1 is the single best way to catch a leak before it costs four figures.
Epoxy grout is non-porous once cured, so it never needs sealing and resists stains and mold better than cement. Cement grout is porous and absorbs water, so it needs a penetrating sealer every 12 to 24 months in wet areas. Cement grout is more common and easier to install, but it demands more of your calendar. When we specify materials, we list the exact grout type in the written quote so you know what you’re signing up for.
A well-built bathroom with a maintained caulk and grout calendar, a clean exhaust fan, and prompt repair of any water intrusion will reliably last 20 to 25 years before a cosmetic refresh and 30 or more before any structural work. The failure point is almost never the tile itself; it’s water behind a compromised caulk bead or a shower pan leak that went unnoticed. Call (844) 761-7521 for a free maintenance inspection if you want an expert read on where yours stands.
The Bottom Line
Bathroom durability is a maintenance story, not a construction story. Epoxy grout never needs sealing; cement grout needs it every 1 to 2 years. Caulk joints need inspecting every 6 months and replacing every 2 to 3 years in wet zones. The exhaust fan needs cleaning once a year and its CFM verified. The shower pan and toilet base need a real test at Year 1, and the full bathroom needs a deep check at Year 5. Keep the checklist, photograph the findings, and hand the log to the next buyer. If any checkpoint turns up something serious, we’re here to look at it with a written scope and a free second opinion. Call (844) 761-7521 for a free estimate in Arlington, and we’ll start with the number in writing.
Written by the team at Rowan Construction Group Arlington.