Last updated November 18, 2026



Free written scope consultation - allowances, timeline, and change-order rules on paper before a single trade is scheduled
Driveway & Pavers Warning Signs Every Homeowner Should Know
A quarter-inch gap opening between a paver edge and its restraint is not a cosmetic flaw. It is a base compaction failure in progress, and the section will drop 1 to 3 inches within 18 months if the drainage cause isn’t corrected first. That’s the part most homeowners miss: the expensive failure, full base replacement at $6,000 to $14,000, is almost never sudden. It spends a year or two sending signals that read like small annoyances. This guide describes exactly what those signals look like, how to measure them, and when to document versus when to call. Arlington’s clay soils and summer downpours put local driveways right in the middle of this pattern.
Quick Answer
Driveway paver warning signs fall into two categories that homeowners routinely confuse. Monitor-and-document signs are normal: slight sand loss in joints, minor edge migration, and hairline movement after a hard freeze. Urgent signs mean the base is failing underneath and the surface is just the symptom: gaps of 1/4 inch or more at the edge restraint, differential settlement of 1/2 inch or more across a 6-foot level, water pooling along joint lines after rain, or vegetation sprouting from joints in a pattern rather than a spot. Urgent signs should be inspected by a professional, not re-swept with sand.
Styles & brands we work with
- Kitchen remodeling
- Bathroom remodeling
- Home additions & ADU
- Roofing
- Windows & doors
- Driveway & pavers
- Fence
Table of Contents
- The Measurement Guide: What the Numbers Actually Mean
- Normal Paver Movement vs. Structural Failure
- Using a 6-Foot Level to Measure Differential Settlement
- Subsurface Drainage Clues You Can See From the Surface
- Installation Defects vs. Normal Wear (Warranty Matters)
- The Documentation Protocol for Warranty and Insurance
- Arlington-Specific Conditions That Accelerate Paver Failure
- Common Mistakes to Avoid
The Measurement Guide: What the Numbers Actually Mean
“Significant” is a word that means nothing in a driveway conversation. Numbers mean something. Here is the scale we use when we inspect a paver surface in Arlington, drawn from thousands of square feet of failed and healthy installs across the metro.
- Joint wider than 3/16 inch, uniform across the surface: Monitor. Likely sand loss from rain washout; worth re-sanding and re-checking in 60 days.
- Joint width above 3/8 inch in one area only: Urgent. The subbase is losing support under that zone, and the pavers are spreading outward to fill the space.
- Gap of 1/4 inch or more between paver edge and restrictor plate: Urgent. The restraint is no longer holding the field in compression. This is the classic compaction-failure signal.
- Vertical lip of more than 1/4 inch between adjacent pavers: Urgent. Surface is riding on a settled or heaved base.
- Differential settlement of 1/2 inch or more across a 6-foot span: Urgent. This is the threshold where water begins pooling faster than it drains.
- Crack (not a joint) running through the middle of a single paver: Monitor unless it repeats in a line. A repeat line indicates a stress point below.
Photograph every measurement with a ruler or tape in frame. A picture of a gap with no scale is a picture a warranty department can argue about. A picture of a gap with a tape reading 5/16 inch is not. We keep those photos in the documented record on every call for that reason. If you want to see what a healthy install looks like by comparison, our Driveway & Pavers in Arlington page walks through the build sequence step by step.
Normal Paver Movement vs. Structural Failure
Pavers are a flexible surface by design. They are supposed to move a few thousandths of an inch with the seasons. The question is not whether the field moves. It is whether the movement returns.
Normal movement has three characteristics. First, it is seasonal and reverses: a paver lifts a hair in January and lies flush by April. Second, it is distributed: a dozen pavers shift slightly, not four. Third, it is cosmetic: no water pools, no joint empties, no edge gap opens.
Structural failure has the opposite profile. It is directional, it accumulates, and it shows up in the same location every time you check. The pattern in Arlington that we see most often runs like this:
- Spring: one corner of the driveway sits a fraction low; you notice it after rain because water lingers there for an hour instead of a few minutes.
- Summer: sand between the pavers in that corner disappears faster than the rest of the field, even after you refill it.
- Fall: a visible step appears between two rows, and the edge of the driveway begins to spread slightly toward the lawn.
- Winter: the corner now holds standing water for a full day after rain, and the joint sand in that zone is dark and damp long after the rest has dried.
By the time step four is showing, the base is compacted but not compacted enough, and it has been carrying a trapped water load for months. The corrective work at that point is excavation of the affected zone, re-compaction in lifts of 2 to 4 inches, and re-installation. That’s the $6,000 to $14,000 line item. Catching it at step two is a few hundred dollars of sand, drainage correction, and a targeted base repair. The math favors early measurement every time.
Using a 6-Foot Level to Measure Differential Settlement
A 6-foot level is the single most useful diagnostic tool a homeowner can own for a paver driveway. It costs $20 to $40 at any hardware store. It tells you in 30 seconds whether a surface is truly flat or just appears flat under daylight. Here’s the measurement procedure, no tools beyond the level and a tape required.
- Lay the level across the drive, long axis, in a line perpendicular to the slope. Set it down on the pavers, not on the joints.
- Find the bubble. If the bubble sits centered, the section is flat across that span. Note it and move on.
- Where the bubble runs to one end, lift the low end and slide a shim (a coin is fine) until the bubble centers. Measure the shim stack with a tape. That number is the differential settlement across 6 feet.
- Repeat at five locations: the apron near the garage, the middle of the drive, both wheel paths, and the street-side edge.
- Write down the readings and the location of each. Take a photo with the level in place and the shim visible.
Readings under 1/4 inch are normal in Arlington’s clay soils, especially in August when the ground is at its driest. Readings of 1/4 to 1/2 inch are a monitor-and-recheck-in-90-days situation. Readings of 1/2 inch or more across a 6-foot span mean water is now pooling against the slope, which accelerates the problem, which is why this reading crosses the repair threshold. Any reading above 1 inch calls for a professional inspection before a single paver is lifted, because it can indicate a deeper issue like a failed utility bedding or a tree root heave.
If your driveway is failing, we would also check the transitions where a walkway meets pavers, and the area under a gate. Our Fence Installation in Arlington page covers how post footings and drainage conflict with paver beds at those junctions, which is one of the more common causes of isolated settlement.
Subsurface Drainage Clues You Can See From the Surface
Water below the pavers is the working cause of almost every failure. You can’t see it directly, but you can see what it does at the surface. Here are the tells we use during a walk-through.
- Dark joint lines that dry last. After a rain, the joint sand in one area stays dark and damp 24 hours longer than the rest. Water is sitting under the base there.
- Efflorescence streaks. A white, chalky deposit at the joint lines or along the edge restraint. That’s mineral salt drawn up by water passing through the base and evaporating. It is a visible water-migration record.
- Moss and algae in a pattern, not a spot. Moss in a single shaded corner is normal. Moss running along a joint line in a diagonal across the drive is a subsurface moisture path.
- Weeds growing from joints in linear runs. One weed is a seed. A line of weeds following a slope is water.
- Fines (sand and small aggregate) washing out of the joints and collecting at the low point. If you’re re-sweeping the same sand in every month, water is moving through the joint and carrying it out.
- Seasonal movement that returns to the same spot. A paver that heaves in winter in the same location every year is sitting over a saturated base that freezes.
On re-installs, the fix is usually a graded base, a drainage geotextile, and one or more edge drains or a channel drain tied to the stormwater path. On a failing project, correcting drainage before re-laying pavers is the entire difference between a repair that holds and a repair that has to be redone next spring. Belgard and Techo-Bloc both publish base and drainage specifications for their paver systems; a written quote should name which spec the crew is building to.
Installation Defects vs. Normal Wear (Warranty Matters)
Most homeowners blame the pavers for a failure that actually belongs to the base. That matters because the manufacturer warranty won’t cover a base failure, but the installer’s labor warranty often will, if you can prove the defect and you’re still inside the window. Here’s how to separate the two.
Installation defect signals:
- Uniform settlement across the whole drive, not a local spot, within the first two years. A properly compacted base doesn’t consolidate 1/2 inch in 24 months.
- Gaps opening at the edge restraint on a drive that has never seen heavy vehicle traffic or a heavy storm.
- Joint sand washing out continuously from day one, before any weather event.
- Ponding along the edge or in a low spot that was visible in the first wet season.
- A visible lack of restraint (no plate, no mortar, no pinned edge) where the drive meets grass or a slope.
- Aggregate visible under the bedding layer at the edge of the field – the base wasn’t deep enough.
Normal wear signals:
- Gradual, evenly distributed darkening of joint sand.
- Minor surface scuffing and small chips at the corners from vehicle traffic.
- Superficial color fade from sun exposure.
- Frost heave in winter that returns to flush in spring.
If you’re within a contractor’s warranty, the timeline matters. Photograph the defect, note the date and the measurement, and put the claim in writing. A contractor who built the driveway is obligated to inspect the base depth and the compaction record; if those records don’t exist, the burden shifts to the work itself. That’s why our jobs are always documented: photo record on every visit, written scope, signed change orders. The Haven Standard exists in part so that a customer never has to argue about what was found, because the record already says.
The Documentation Protocol for Warranty and Insurance
When a driveway failure turns into a warranty claim or an insurance conversation, the difference between a paid outcome and a denial is almost always the documentation. It takes 20 minutes. Here is the protocol.
- Photograph in the same light. Take the whole-drive shot from the same two angles every time you check – one from the street, one from the garage. Overhead morning light, no shadows across the defect.
- Shoot with a scale. Every close-up includes a tape measure or a ruler. State the reading in the photo caption.
- Shoot the level. The 6-foot level in place with a shim visible and the bubble location noted. The differential measurement goes in the log with a date.
- Log the weather. Note rain in the previous 24 hours, and note dates the surface stayed wet after rain. Water behavior is the most convincing evidence of drainage failure.
- Photograph water pooling, in-situ. Not just the wet area – the reflection of standing water, with a reference object (a coin or a paver corner) in frame.
- Write it all in a single log. Date, location, measurement, photo reference. Every entry.
- Send a copy to the contractor when you file the claim. If they’ve never been notified, they can argue it wasn’t a warranty issue. A copy of the log removes that argument.
For an insurance conversation, the same log supports a claim if the damage traces to a storm or a utility event rather than an installation defect. Insurance adjusters want evidence of when the damage first appeared. Your log answers that directly. For context on how documentation works during a larger project, our Home Additions & ADU in Arlington page covers the filing and permitting record we maintain on larger builds.
Arlington-Specific Conditions That Accelerate Paver Failure
Arlington drives fail differently than drives in, say, Fort Worth or Denton, mostly because of what’s under them. Three conditions show up over and over in our walk-throughs.
Expansive clay. Much of Arlington sits on blackland clay, which swells when wet and shrinks when dry. A paver drive on clay that wasn’t compacted in lifts with proper moisture conditioning will move with the seasons. That movement doesn’t only happen once a year; it happens four times, and every cycle loosens the joint sand. The clay is why local compaction testing under a new install matters more than the paver brand.
Summer-downpour drainage. Arlington’s storms tend to arrive fast and dump a month’s worth of water in an hour. A base that handles a slow rain fine will fail on a fast one if the slope and drainage aren’t correct. Watch for ponding along the edge of the drive after summer storms, especially in areas like the Interlochen and Dalworthington Gardens neighborhoods, where tree canopies and older lots make drainage corrections tricky.
Tree root heave. Mature pecans and oaks in established Arlington lots push roots under paver drives and heave sections a few pavers at a time. If the line of failure in your driveway traces back to a tree trunk, this is likely the cause, and a subsurface drainage plan has to account for the roots.
For a broader picture of how the driveway repair fits into your home, the Rowan Construction Group Arlington home page lays out all seven of the trades we cover.
Common Mistakes to Avoid
- Re-sweeping sand into a joint that keeps emptying. Sand loss in one area is a drainage symptom. Re-sweeping hides the symptom for a month and lets the base degrade for a year. The fix is drainage, not sand.
- Filling a settlement with concrete or self-leveler. Patch material on a paver surface will crack within a season because the base underneath is still moving. The base is the repair, not the surface.
- Treating edge gap as cosmetic. A 1/4-inch gap at the edge restraint is the compaction failure running its course. Left alone, the section drops 1 to 3 inches within 18 months.
- Ignoring a 1/2-inch level reading across 6 feet. Many Arlington homeowners think a slope that subtle isn’t worth checking. That’s the exact reading where water begins pooling against the slope, and the failure accelerates.
- Assuming the manufacturer warranty covers base failure. It doesn’t. Pavers are warranted by the paver manufacturer; the base is warranted by the installer, if at all. Find out which before you make the call.
- Documenting from above only. Overhead shots of a crack don’t establish scale or settlement depth. A photo of a defect without a scale can be argued about; a photo with a tape reading cannot.
- Waiting for a full re-do before calling. The full base replacement costs $6,000 to $14,000. A targeted base and drainage repair at the first urgent sign costs hundreds to low four figures. Waiting is the most expensive option on the list.
See the difference
 Before
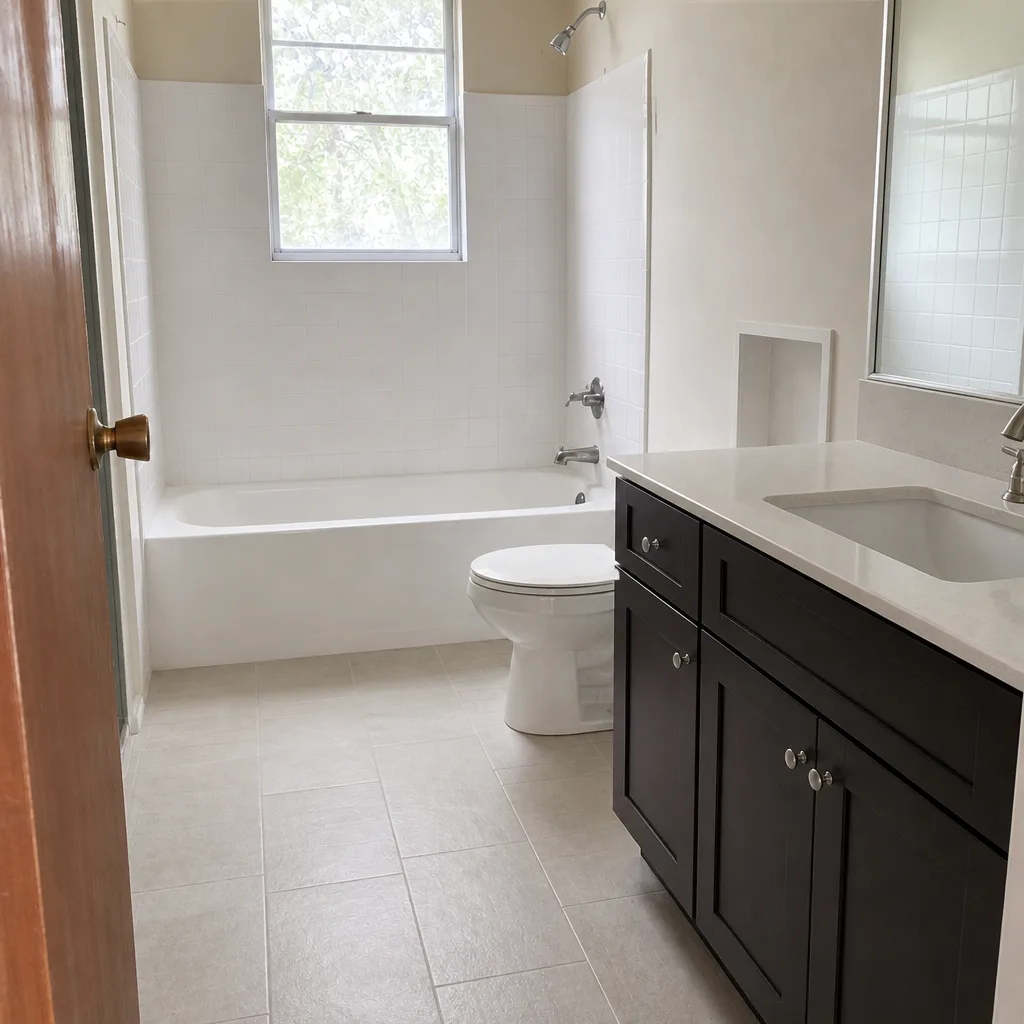 After
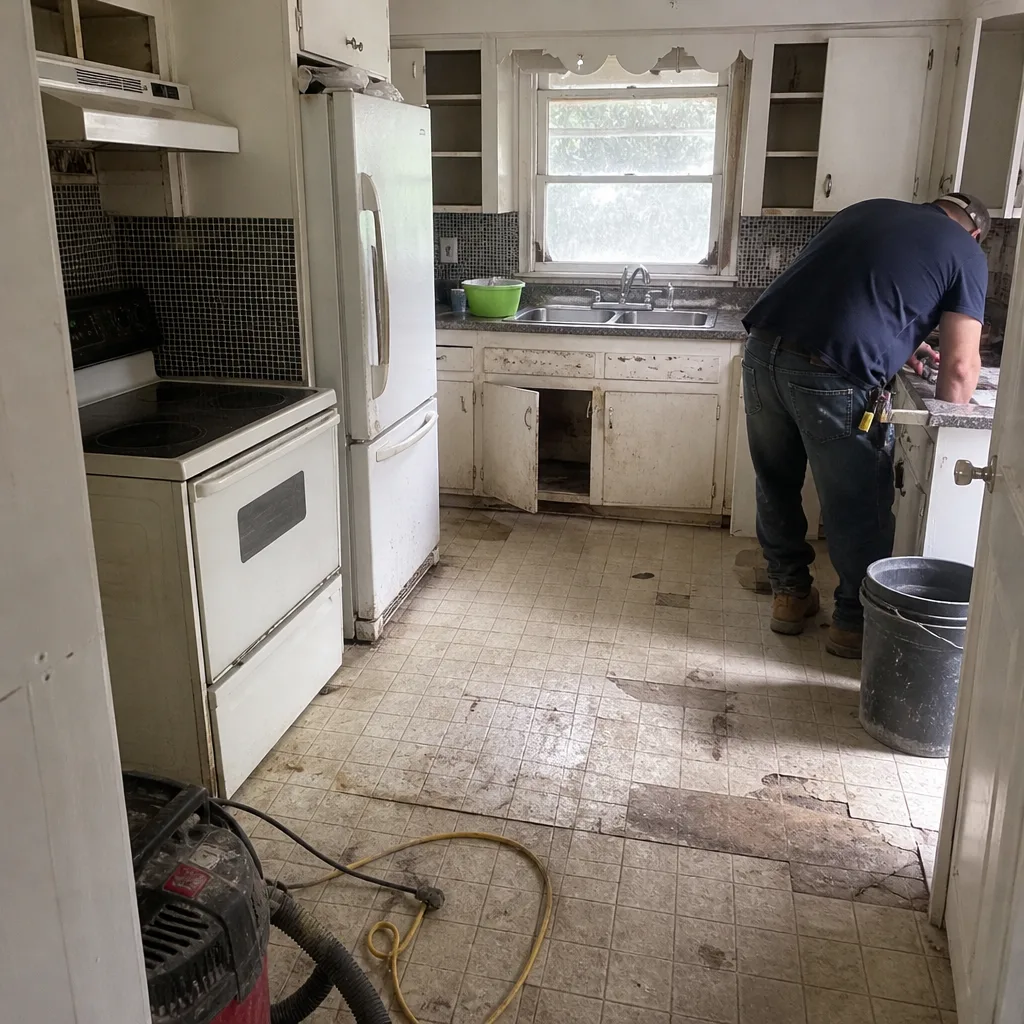 Before
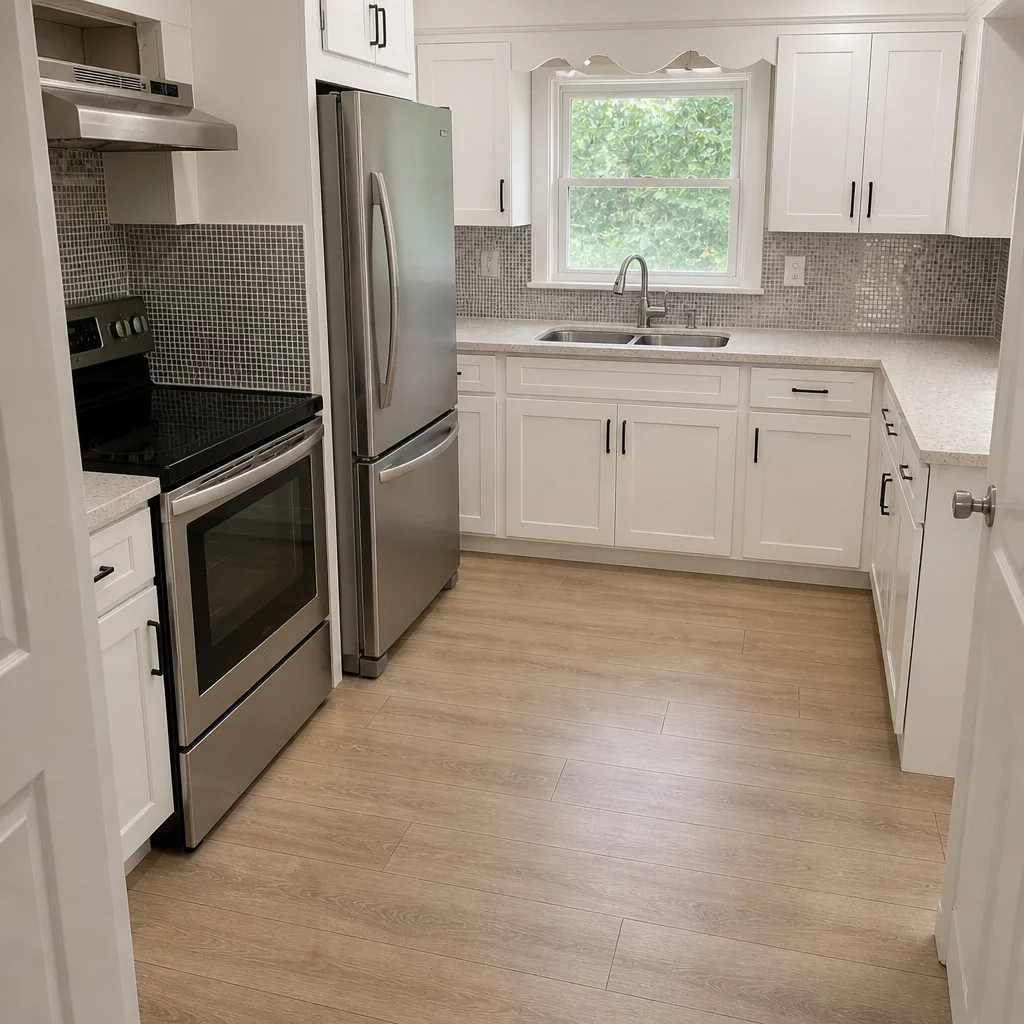 After
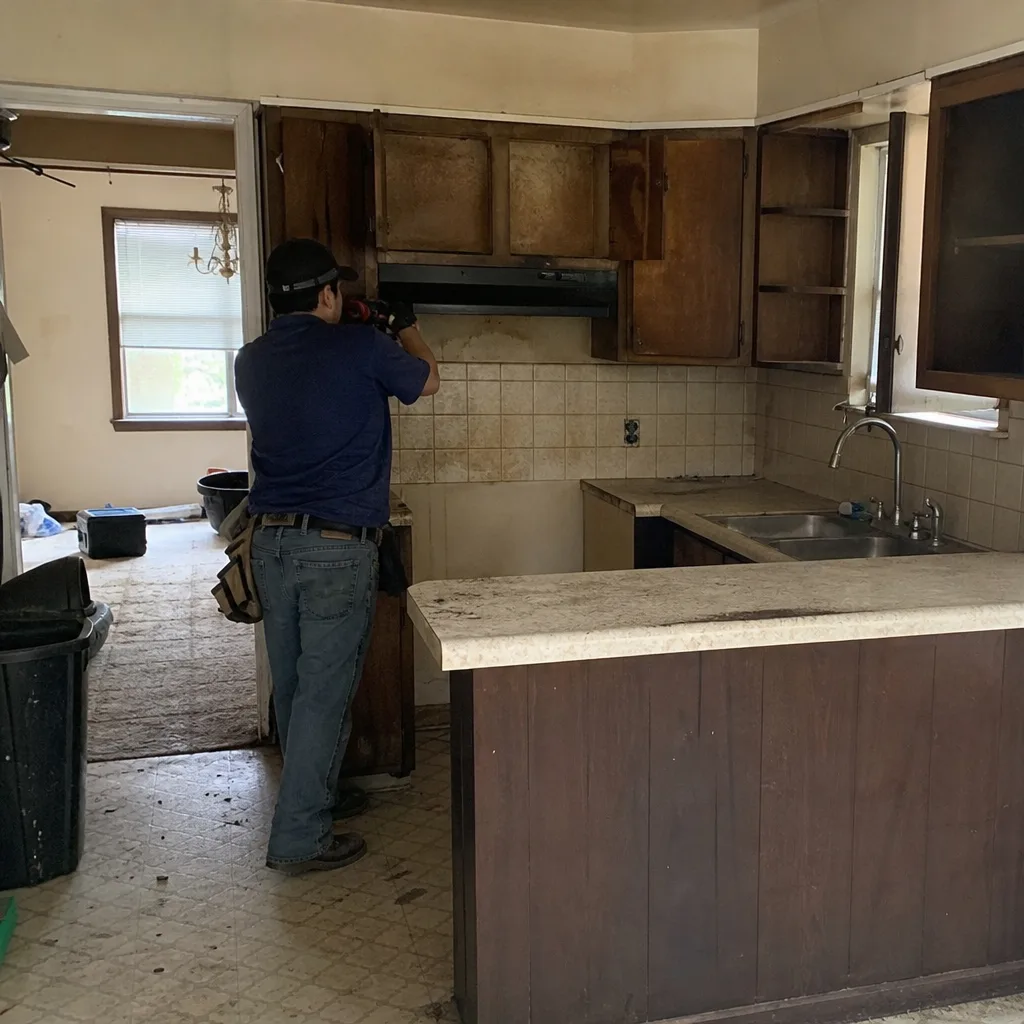 Before
 After
When to Call a Professional
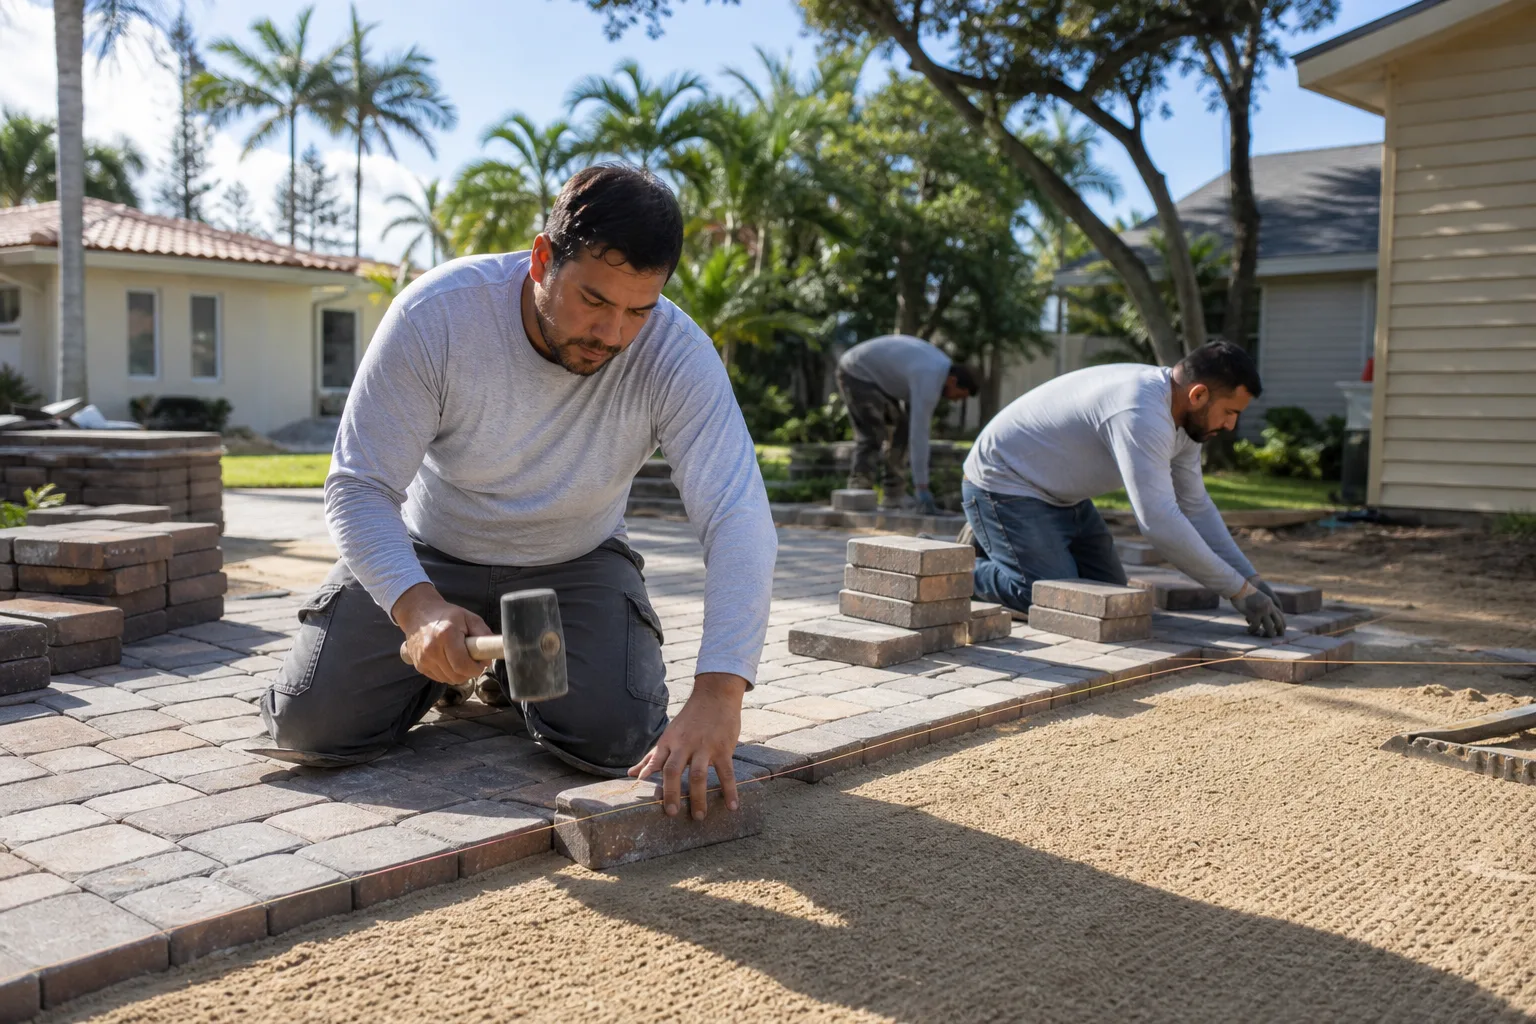
Call us when the edge gap reads 1/4 inch or more, when your 6-foot level shows 1/2 inch of settlement across the span, when the same area of the driveway holds standing water a day after rain, when the joint sand continually empties from one zone, or when vegetation lines up in runs across the joints. Call sooner if you’re still inside a contractor’s warranty, because the timeline affects what you can claim. Do not attempt to re-set the base or re-compact pavers yourself; a failed base is a structural problem, and the fix involves excavating to depth and compacting in lifts a homeowner can’t reliably achieve with rental equipment.
Rowan Construction Group Arlington offers free estimates in Arlington and a free second opinion on any written estimate you already have. Call (844) 761-7521 to schedule your free estimate. A written price comes before any work starts, every time, on every trade.
Frequently Asked Questions
Targeted base repair and re-setting a small section in Arlington typically runs a few hundred to low four figures, while a full base replacement runs $6,000 to $14,000. The spread depends entirely on how much of the base has failed and whether drainage correction is part of the repair. Call (844) 761-7521 for an exact quote; estimates are free.
If the settlement is localized to one area and the rest of the drive passes the 6-foot level check at under 1/4 inch, a targeted repair is usually enough. If settlement is widespread, or the edge restraint has lost compression across the whole length, a full replacement is often the better long-term cost. A professional inspection measuring base depth and compaction is the deciding factor, so get a written line-item quote before you commit.
Not on our jobs. Under Clause 1 of the Haven Standard, the price is written before anyone starts, and no work proceeds on a change until the change order is signed. That discipline is why our projects finish within a few percent of the agreed price. For a driveway repair, that means the diagnosis, scope, and number are all in writing before a paver is lifted.
For driveway work in Arlington that alters drainage or touches the public right-of-way, permits are often required, and we handle them when they’re part of the scope. The written quote names which permits are included, so there’s no surprise later. Ask for the permit scope up front on any driveway project that involves drainage corrections or replacement of an apron.
A targeted repair, where one section of base is excavated and re-set, takes a day or two depending on the depth and drainage scope. A full base replacement on a standard two-car drive typically takes several days, and weather extends it. The written scope states the timeline before work begins, so you can plan around it.
Localized settlement at the edge, missing restraint, continuously washing joints from day one, and uniform consolidation in the first 24 months point to installation defects, not wear. Wear is distributed, gradual, and cosmetic. Photograph the defect with a scale, log the readings, and file a warranty claim in writing.
The Bottom Line
The most expensive driveway failure in Arlington starts with the smallest visible sign. A gap at the edge restraint, a joint that keeps emptying, a level reading of 1/2 inch across 6 feet. Every one of those is measurable, photographable, and fixable at a fraction of the cost of a full base replacement. The homeowner who measures early and documents the readings is the one who pays the small number. The one who waits pays $6,000 to $14,000. Get a second opinion on any written estimate before you sign, and keep a level in the garage.
Written by the team at Rowan Construction Group Arlington.