Last updated November 18, 2026

Free written scope consultation - allowances, timeline, and change-order rules on paper before a single trade is scheduled
Driveway & Pavers Maintenance Schedule: What to Do and When
Polymeric joint sand in an Arlington driveway has a working life of roughly 5 to 8 years before it powders out and lets water, weeds, and ant colonies move in. Most homeowners find this out the hard way: the sand has stopped doing its job long before anyone notices, and a fresh layer brushed over failed sand fixes nothing. A paver driveway is not one surface. It’s four components – the pavers, the joint sand, the edge restraints, and the base underneath – and each one wears on its own clock. This guide lays out the schedule each component actually needs, tuned to North Texas heat, clay soil, and the freeze events that catch Arlington homeowners off guard.
Quick Answer
A paver driveway needs routine attention four times a year – spring weed and joint inspection, summer heat and expansion checks, fall drainage clearing before the rainy season, and a winter freeze-thaw crack audit – with joint sand re-topping every 2 to 3 years and a full re-sand at the 5-to-8-year mark. Sealer intervals depend on type: film-forming sealers get reapplied every 2 to 3 years, penetrating sealers every 4 to 5 years. Edge restraints should be checked for movement down to a few millimeters before any paver visibly shifts.
Styles & brands we work with
- Kitchen remodeling
- Bathroom remodeling
- Home additions & ADU
- Roofing
- Windows & doors
- Driveway & pavers
- Fence
Table of Contents
- Understanding the Four Components of a Paver System
- The North Texas Seasonal Calendar
- Joint Sand: The 5-to-8-Year Lifespan Nobody Tracks
- Sealer Application Intervals by Product Type
- Edge Restraint Inspection: Measuring Movement in Millimeters
- Maintenance Program vs. Deferred Maintenance: The Real Numbers
- What to Log After Every Inspection
- Common Mistakes to Avoid
Understanding the Four Components of a Paver System
When a paver driveway fails, it usually fails from the bottom up. The pavers get blamed, but they’re the most durable part of the assembly and the least likely to be the actual problem. Here’s what each layer does and how it ages:
- Pavers – The visible surface, usually Belgard or Techo-Bloc concrete pavers in an Arlington install. The pavers themselves can last decades. They age by fading and by chipping at edges where base settlement has let them rock.
- Joint sand – Polymeric sand fills the gaps and locks the pavers together laterally. It degrades fastest of all four components – 5 to 8 years before it loses its binding ability. Sand failure lets water into the base and opens the joints to weeds and insects.
- Edge restraints – The aluminum or plastic channel spiked along the perimeter that keeps the field of pavers from spreading outward. This is the most overlooked component. A loose spike means the whole edge is one hard summer away from shifting.
- Base – Crushed stone, typically 4 to 6 inches compacted in lifts, sitting on geotextile fabric over native soil. In Arlington’s expansive clay, base failure shows up as uniform depressions or as a paver field that holds water in one spot after rain.
The maintenance mistake we see most often is treating all four as one system that gets “serviced” once a year. Each component has its own inspection cadence and its own repair trigger. Get those right and a well-built driveway lasts 25 to 30 years. Ignore the sand and the edge spikes and you’ll be looking at base work much sooner. If you’re starting from scratch rather than maintaining an existing surface, our page on Driveway & Pavers in Arlington covers the install side – base depth, compaction specs, and paver selection.
The North Texas Seasonal Calendar
Arlington’s climate does more damage to paver driveways than most of the country realizes. Summer heat pushes pavers to expand against each other, sometimes reaching 140°F on the surface in July and August. Then winter delivers the wildcard: freeze-thaw cycles where a 70°F January afternoon drops to 22°F that night. Water sitting in a failed joint freezes, expands, and widens the gap. The calendar below is built around that rhythm.
- March (spring inspection) – Walk the driveway after a rain and look for weeds emerging from joints. Pull a few and check whether there’s still solid sand behind them. If the weed came out with loose sand attached, the joint is failing. Also rake back the mulch along the edge of any neighboring planting bed and check whether the edge restraint is hidden or exposed.
- June (summer heat check) – Surface temperatures peak. Look for pavers that are spalling (flaking at the surface) or that have developed a rocking motion underfoot. Rocking means the sand under the paver has washed out, and it’s a base issue in the making. Expansion-related heaving shows up as a raised hump in a line of pavers after the hottest weeks.
- September (pre-rain drainage clearing) – North Texas gets its heaviest rain and occasional hail in fall. Clear leaves and debris from any channel drain, French drain, or swale at the driveway’s low point. A clogged drain backs water into the paver joints and turns a maintenance item into a base replacement.
- December through February (freeze-thaw audit) – After every hard freeze, walk the driveway and look for new cracks, popped joint sand, or pavers that have shifted out of line. This is when failed edge spikes show up as an edge that’s crept outward by a quarter-inch or more over the season.
Those four touchpoints take about an hour each. They cost nothing beyond a walk around the driveway and a pen. That’s the whole point – the calendar is cheap, and the repairs it prevents are not.
Joint Sand: The 5-to-8-Year Lifespan Nobody Tracks
Polymeric joint sand is the component that fails first and gets noticed last. It’s a mix of fine sand and a polymer binder that activates with water and locks the pavers together, preventing lateral movement and blocking water from running directly down into the base. In Arlington’s summer heat, the polymer degrades faster than in cooler climates. We typically see it reach the end of its useful life in 5 to 8 years, with the upper end of that range depending on shade, sun exposure, and whether the driveway was sealed.
Here’s the failure sequence:
- Years 1-4: Sand is doing its job. Occasional topping-off in high-traffic areas like the apron at the street and the turn-in at the garage.
- Years 4-6: Sand begins to powder at the surface. It looks fine, but water penetration increases. Weeds start appearing in joints.
- Years 6-8: The binder has failed. Sand washes out of the joints with each rain. Ant colonies establish in the loosened joints. Pavers start to shift laterally because the field is no longer locked together.
- Year 8+: If the sand wasn’t replaced at the end of its life, the base is now exposed to direct water infiltration and the failure clock accelerates.
Re-sanding is a partial replacement in most cases – the old sand has to be blown or washed out of the joints down to roughly half an inch before new polymeric sand goes in, because new sand won’t bond over failed sand. The mistake we see most is a homeowner (or an inexperienced crew) brushing fresh sand over the top and calling it done. That produces a good-looking surface for one season and then fails again. Full joint removal and re-sand on a typical 600 sq ft Arlington driveway runs $600 to $1,400 depending on joint width and how badly the old sand has compacted. Half-measures cost more over time.
Sealer Application Intervals by Product Type
Sealer is not a single category. It’s two types with different chemistry, different prep requirements, and different reapplication schedules – and mixing them up is one of the most common reasons a sealer doesn’t hold up.
Film-forming sealers sit on top of the paver surface and create a visible sheen. They look dramatic, but they also trap moisture, and a film sealer over sand that still holds moisture will turn milky or flake. Film sealers need reapplication every 2 to 3 years in Arlington, and the prep is non-negotiable: the surface has to be clean, completely dry, and old sealer has to be chemically stripped before a new coat. Film sealers on a driveway that sees heavy traffic and sun can start peeling at year two.
Penetrating sealers soak into the paver and line the pores from the inside without leaving a film. They don’t change the paver’s appearance much, they don’t trap moisture, and they hold their performance longer – typically 4 to 5 years between applications. Prep is simpler: clean and dry, no stripping required in most cases.
For a driveway in Arlington, our default is a penetrating sealer, because a film sealer under a Texas summer sun degrades from UV faster than the manufacturer’s number suggests. Either way, here’s the decision table:
- Film-forming, reapply: 2-3 years. Prep: strip old sealer, clean, completely dry before application.
- Penetrating, reapply: 4-5 years. Prep: clean, dry, no strip.
- First seal after install: 60-90 days minimum cure time on new pavers. Sealing a fresh install too early traps efflorescence inside the paver.
- Never seal over damp joints: if the sand is holding moisture, film sealers will haze, and penetrating sealers won’t absorb evenly.
Sealing is also the right time to do the joint sand work – seal over a fully sanded joint and both components get done in one visit. That’s part of the reason we keep the maintenance visit as a whole-system check rather than a piecemeal service call.
Edge Restraint Inspection: Measuring Movement in Millimeters
Edge restraints are the components most homeowners never think about until the pavers start spreading. The restraint – usually an aluminum L-channel or a staked plastic edge – runs the perimeter of the paver field and is held by steel spikes driven into the base. Its job is to resist the lateral force that traffic and thermal expansion push outward. When one spike works loose – from frost heave, from a lawnmower strike, from base settlement – the load transfers to the adjacent spikes, and they loosen in turn. The visible result, months later, is an edge that has crept outward, joints that have widened, and eventually a paver field that has raveled at the edge.
The fix is to catch the spike movement before the paver field moves, and that requires a measurement, not a glance. Here’s the inspection protocol:
- Place a straightedge or a 4-foot level along the edge restraint, flush against the outside face.
- Press or tap the restraint at each spike location and watch for movement against the straightedge.
- Any detected movement at a spike – even a 2 to 3 mm deflection – indicates the spike has lost hold. Visible paver field movement typically shows up only after the restraint has already moved 6 to 10 mm (roughly a quarter to three-eighths of an inch).
- Check the corners first. Corners carry the most load and fail first, especially at the apron where the driveway meets the street.
- Re-spike any loose location with a new spike driven at a slight angle toward the field – not straight down – so it seats into undisturbed base material.
If the edge has already moved and the pavers at the perimeter have started to ravel, re-spiking alone won’t pull it back. The edge pavers have to be lifted, the base at the edge re-compacted, the restraint reset, and the sand replaced. That’s a repair, not maintenance, and it’s the point where a call to Rowan Construction Group Arlington or another qualified contractor is the right move.
Maintenance Program vs. Deferred Maintenance: The Real Numbers
The economic case for a maintenance schedule is easier to see in dollars than in theory. Take a typical 600 sq ft Arlington paver driveway – a size we see all the time in the older neighborhoods and the new-build areas. Here’s the comparison across a 15-year window:
- Maintenance program, per year: $250-$450 in routine care (annual inspection and touch-up sand, drainage clearing, spot re-spiking, sealer at interval). Over 15 years, that’s roughly $3,750-$6,750 total, including a full re-sand at the 6-8-year mark and two sealer applications.
- Deferred maintenance, per year: $0 in routine care, but the driveway typically needs a full re-sand at year 8-10, real edge restraint repair at year 10-12, and base repair – spot or full – by year 12-15.
- Deferred maintenance, actual cost: Full re-sand at $600-$1,400, base spot repair at $1,500-$3,500, and if the base is compromised across the whole field, full base replacement at $12-$22 per sq ft on a 600 sq ft driveway – which is $7,200 to $13,200. On top of that, sealer can’t go on until the repairs are done, so the sealer cost isn’t avoided, just postponed.
- Net difference: The maintenance program typically comes out $4,000 to $8,000 ahead on a 600 sq ft driveway, and the driveway usually doesn’t need base replacement at all.
Those numbers are based on the work we see in Arlington and the surrounding inner suburbs. The exact figures move with paver type – Belgard and Techo-Bloc run at different price points – and with the condition of the base. But the shape of the comparison holds every time. Maintenance is cheaper than repair, and repair is cheaper than replacement. There’s no version of the math where doing nothing wins.
What to Log After Every Inspection
A written record turns maintenance into evidence. When a warranty claim comes up, when a future contractor gives you an estimate, or when you’re comparing a repair quote with what a neighbor paid, a log is the difference between “I think it was fine last spring” and “here’s what the driveway looked like on September 14.” The record also tells you when to expect the next major item – it’s a reminder that joint sand is at year 6, not year 3.
The format doesn’t need to be elaborate. A notes app or a paper logbook works. Every entry should capture:
- Date and weather: Was it after rain? After a freeze? Note the recent weather, since that’s the context for any problem you spotted.
- Photos of each quadrant: Four photos minimum – one per quadrant of the driveway, from the same angle every time. Include a close-up of any joint that looks questionable and any edge where you checked restraint movement.
- Findings, stated in condition terms: “Joint sand missing along 6 feet of the east edge,” “spike at southwest corner moves 2 mm against straightedge,” “standing water in the low spot after rain.” Say what you saw, not what you felt about it.
- Actions taken: What you did – touched up sand, cleared the drain, called for a repair, or deferred and noted the date to revisit.
- Next inspection due: Give yourself a date. A calendar reminder plus a written log is the entire system.
Keep the log somewhere you’ll actually find it – a labeled folder in a cloud drive is the simplest option. If a contractor gives you a written estimate, add that estimate to the folder. When you’re ready to sell the house, that log is also a documented maintenance record for the buyer’s inspector. It’s not a marketing claim – it’s a real record of what was found and what was done, and that’s exactly the kind of record that turns an “unknown” driveway condition into a known one.
Common Mistakes to Avoid
- Brushing new polymeric sand over failed sand. New sand won’t bond over a failed polymer layer. The joint has to be cleared down to half an inch before re-sanding, or the new material will wash out within a season.
- Sealing on the first dry day after rain. The pavers can look dry while the joint sand is still holding moisture. Film sealers will haze or peel and penetrating sealers won’t absorb evenly. Wait for a stretch of dry weather, not just a dry surface.
- Skipping the edge restraint check because the pavers look fine. The restraint moves before the pavers do – by a few millimeters. By the time the paver edge is visibly raveled, the repair has gone from re-spiking to lifting and re-bedding the edge.
- Power-washing joints at high pressure. A 3,500-psi wand will blast the joint sand out of the driveway and open the base to water. If a driveway needs washing, it needs a low-pressure fan tip and the joints need re-sanding afterward.
- Ignoring drainage before fall rain season. One clogged channel drain in a September storm can send water under 40 square feet of pavers. Clear the drain before the first real rain, not after.
- Treating a base failure as a paver failure. Pavers that rock or a driveway that holds standing water in one spot after rain is a base problem. Replacing pavers without addressing the base is a temporary fix that shows up again in a season or two.
- Waiting until something is wrong to look. The whole purpose of the seasonal calendar is to look when it’s cheap and calm. The homeowner who walks the driveway four times a year finds the loose spike before the paver edge moves.
See the difference
 Before
 After
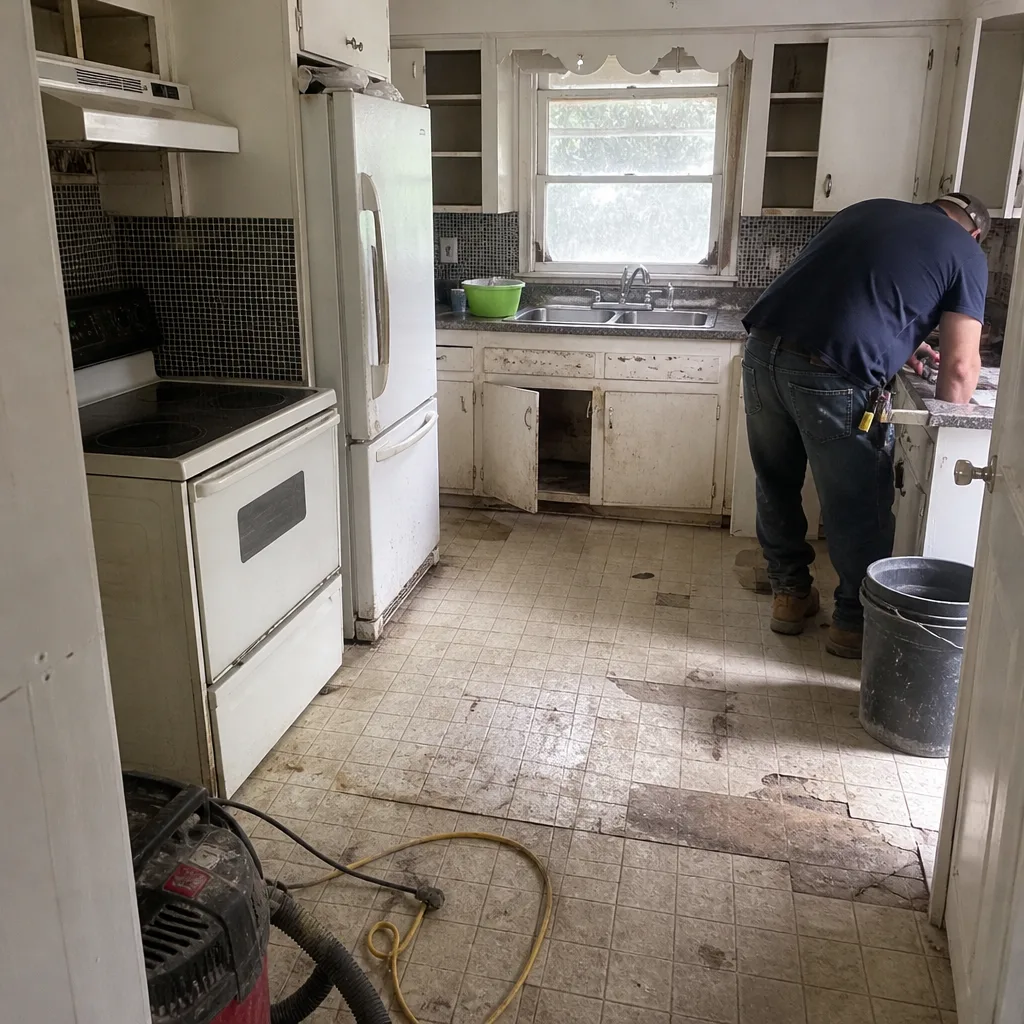 Before
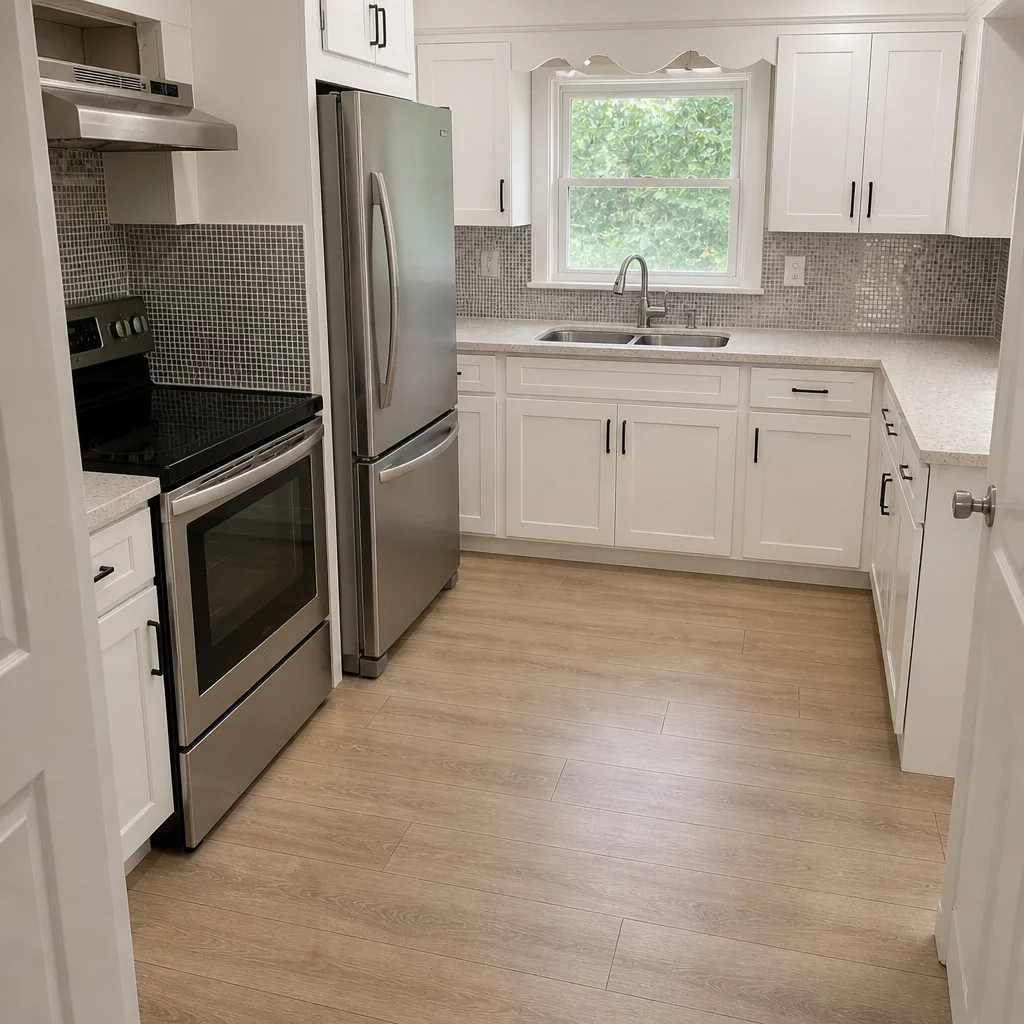 After
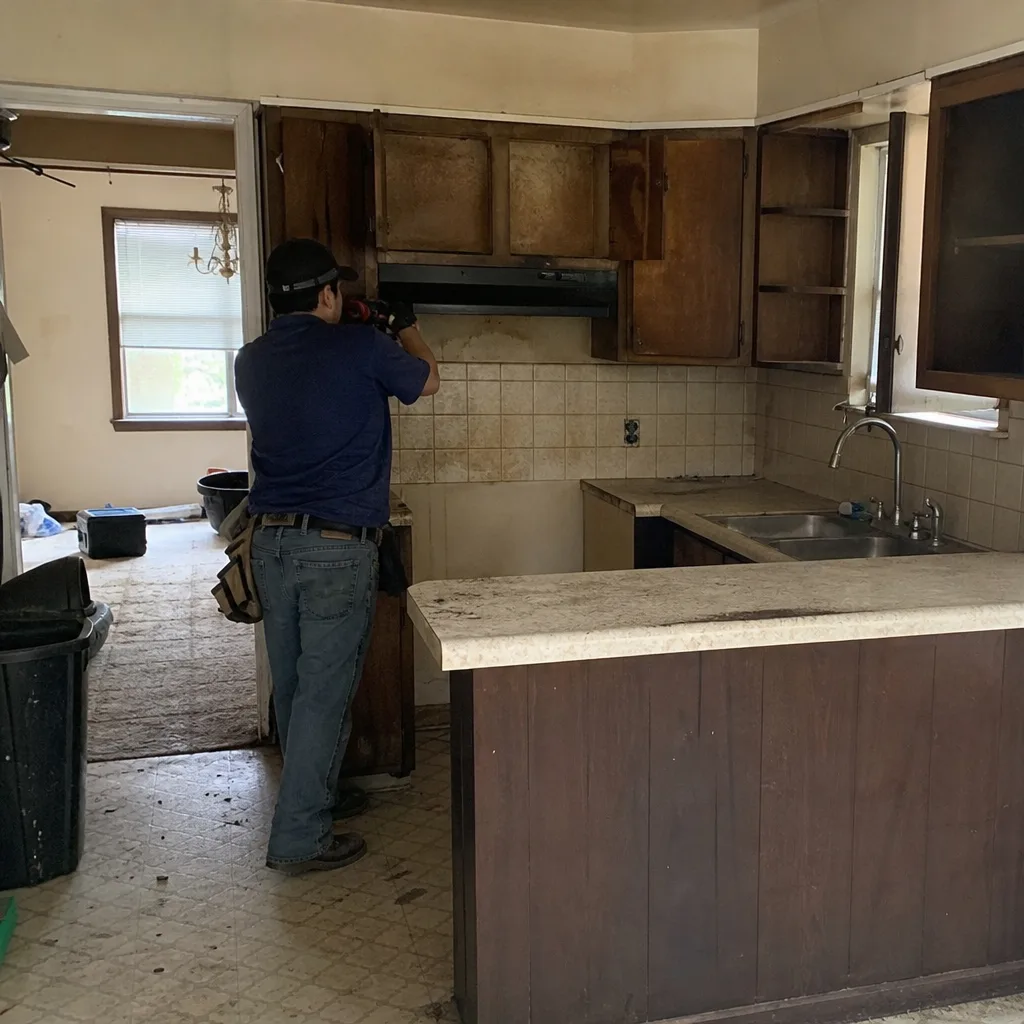 Before
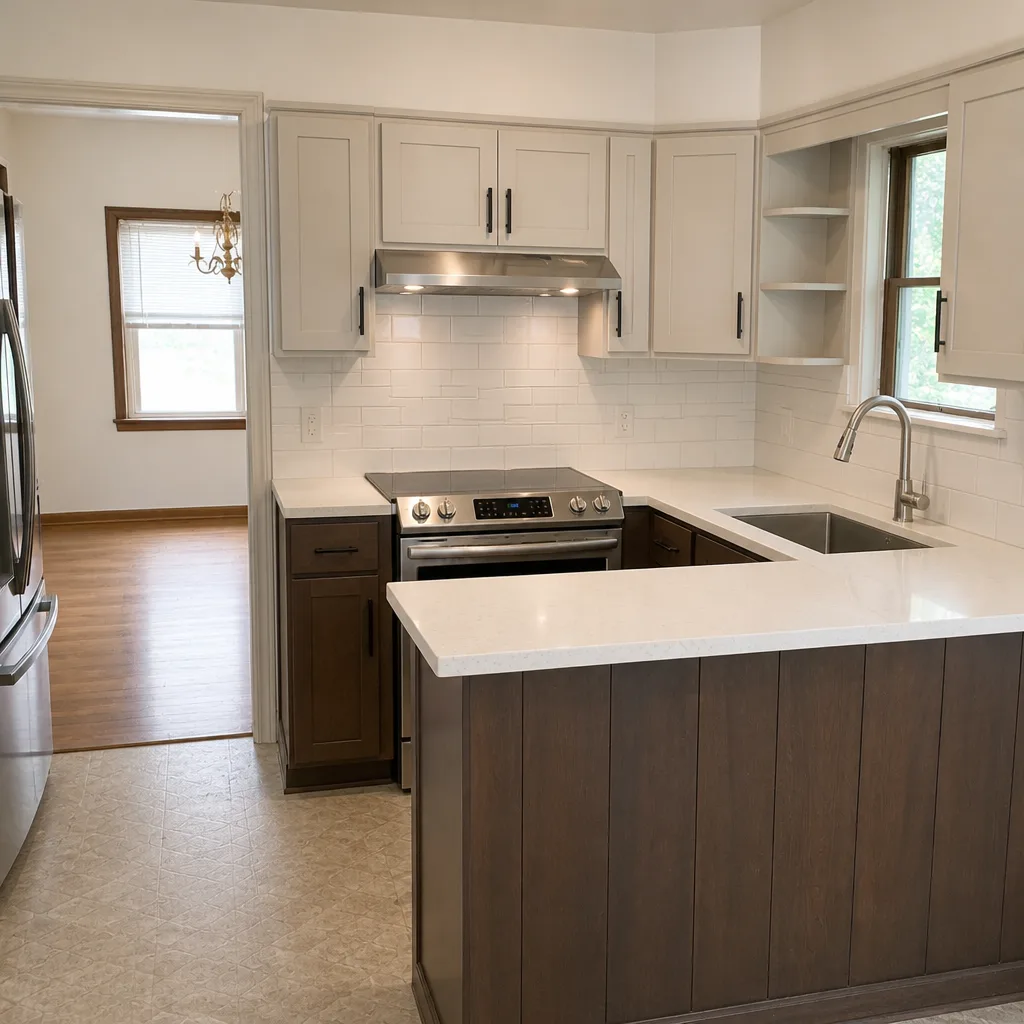 After
When to Call a Professional
A lot of the schedule in this guide is doable by the homeowner – the walking inspection, the log, the drain clearing. Some of it isn’t. Call a qualified contractor if you’re seeing any of the following: pavers that rock underfoot or that have visibly heaved out of line; standing water in a low spot that persists more than 24 hours after rain; edge restraint that has moved more than 6 to 10 mm against a straightedge; joints that are washing out with every rain despite a recent re-sand; or a sealer that has turned milky, peeled, or hazed across more than a small patch. Base work also has to be matched to Arlington’s expansive clay: a spot repair that doesn’t address soil movement will fail again at the same spot. Rowan Construction Group Arlington offers free written estimates in Arlington – the price is written before any work starts, and a line-by-line scope comes with it. Our Home Additions & ADU in Arlington page shows how we extend that same written-price discipline to larger projects, and our Fence Installation in Arlington page covers the perimeter work that often needs to happen alongside driveway repair. To start, call (844) 761-7521 for a free estimate.
Frequently Asked Questions
Every 2 to 3 years for film-forming sealers and every 4 to 5 years for penetrating sealers. Arlington’s summer heat and UV exposure push film sealers toward the shorter end of that range, which is why most driveways in the area do better with a penetrating product. Seal only after the first 60 to 90 days of cure on a new install, and never seal over joint sand that’s still holding moisture. Call (844) 761-7521 for a free estimate on sealing or a full joint-and-seal visit.
If the sand is powdering at the surface but still firm in the joint, a touch-up is enough. If the joint is washing out with rain, if weeds pull out with loose sand attached, or if the sand is more than 5 to 8 years old, the joint needs to be cleared and re-sanded, not topped off. Topping off failed sand is a one-season fix. Call (844) 761-7521 to have a contractor check the joints and quote a full re-sand if it’s time.
Almost always a base issue, not a paver issue. Arlington’s expansive clay swells when wet and shrinks when dry, and that movement telegraphs through the base. Hail, freeze-thaw, and drainage failures make it worse. A paver that rocks has lost the sand beneath it and is sitting on a base that has moved.
Plan on $250 to $450 per year for a typical 600 sq ft driveway, with major items – full re-sand every 6 to 8 years, sealer on its own interval – factored into the total. That compares with $12 to $22 per sq ft for a full base replacement if maintenance is deferred long enough to compromise the base. Call (844) 761-7521 for a written estimate specific to your driveway.
No single product stops weeds and ants on its own. Sealer slows water infiltration and helps hold the joint sand in place, but the sand is what blocks weeds and ants. Sealed pavers with failed sand still grow weeds. The fix is sand plus sealer plus a maintained edge, and those three are what the schedule in this guide is built to sequence.
You can handle the seasonal walkthrough, the log, and the drain clearing on your own – that’s most of the value. You need a professional for re-sanding a large field, fixing loose edge restraints that have moved the paver field, any base repair, and sealer application over a full driveway. The safest line is: inspect yourself, call for anything that involves lifting pavers or touching the base. Call (844) 761-7521 to schedule a free estimate for the repair side.
The Bottom Line
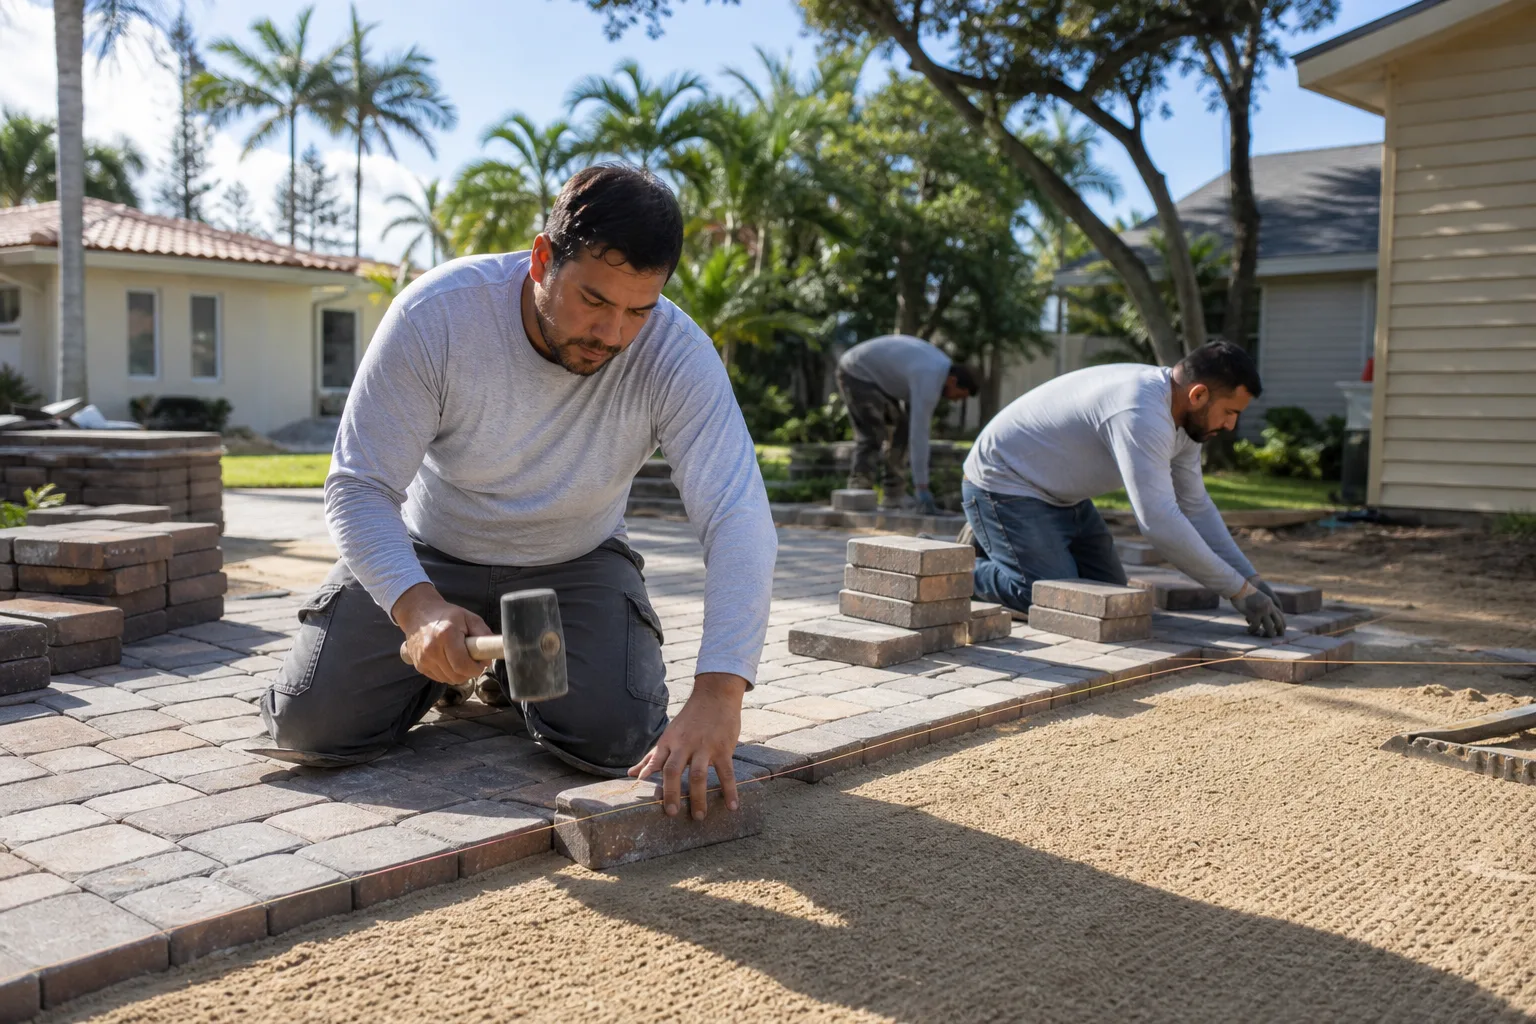
A paver driveway isn’t maintained by a single annual visit. It’s maintained by tracking four components that wear on different clocks – pavers, joint sand, edge restraints, and base – through a seasonal calendar built for Arlington’s heat, clay, and freeze-thaw pattern. Sand re-topping runs on a 2-to-3-year cycle with full re-sand at 5 to 8 years. Sealer follows its product type: 2 to 3 years for film, 4 to 5 for penetrating. Edge restraints get measured, not eyeballed, and any movement past a few millimeters gets re-spiked. Keep a log, clear the drains before fall rain, and you’ll spend $250 to $450 a year on a driveway that stays out of the $7,000-plus replacement range. That record also becomes useful evidence if you ever make a warranty claim or sell the house. If you’d rather have a contractor walk it once and quote the work in writing, Rowan Construction Group Arlington offers free estimates in Arlington – call (844) 761-7521 to schedule a free estimate. You can start with our Rowan Construction Group Arlington home page for the full picture of the seven trades and how the written-price process works on every project.
Written by the team at Rowan Construction Group Arlington.